The Smokenator is not a cooker, it is an accessory for charcoal kettles. But it is such an effective and economical accessory, we decided to include it in our searchable data base for our many readers who want to grill and smoke, but don’t have the budget to purchase two dedicated cookers. For years we considered the Smokenator to be best in class when it came to accessories for the Weber kettle. However, it has been bumped from that prestigious position by a new invention called Slow ‘N Sear. Slow ‘N Sear does everything the Smokenator can but better and more. Click Slow ‘N Sear Review for detailed info about SNS.
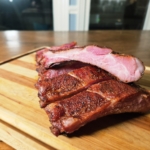
Be that as it may, the Smokenator is still a great tool. For about $70 you can easily convert most Weber Kettles into a smoker capable of making restaurant quality smoked ribs, pork shoulder, brisket, turkey, or salmon. If you have a limited budget or limited deck space, there is no need to buy a standalone BBQ smoker.
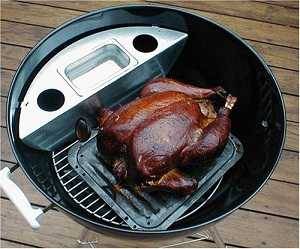
Moreover, it is very easy to setup and use, particularly if you already own a kettle and know your way around charcoal. It is designed to conform to the shape of Weber kettles and fits in place effortlessly and intuitively without need of bolts or tools. As Meathead observes, once the coals are hot and the meat is on all you have to do is, “Put the lid on, adjust the dampers, and go drink a beer. The Smokenator will pump out aromatic smoke and just the right low and slow temp for hours.”
The Smokenator comes in three sizes: the 180 for an 18.5″ kettle, the 1000 for a 22.5″ and the 2600 for a 26.75″.

 Sign up for a free trial of the AmazingRibs.com Pitmaster Club and experience everything that the world's largest membership-based BBQ and grilling community has to offer!