
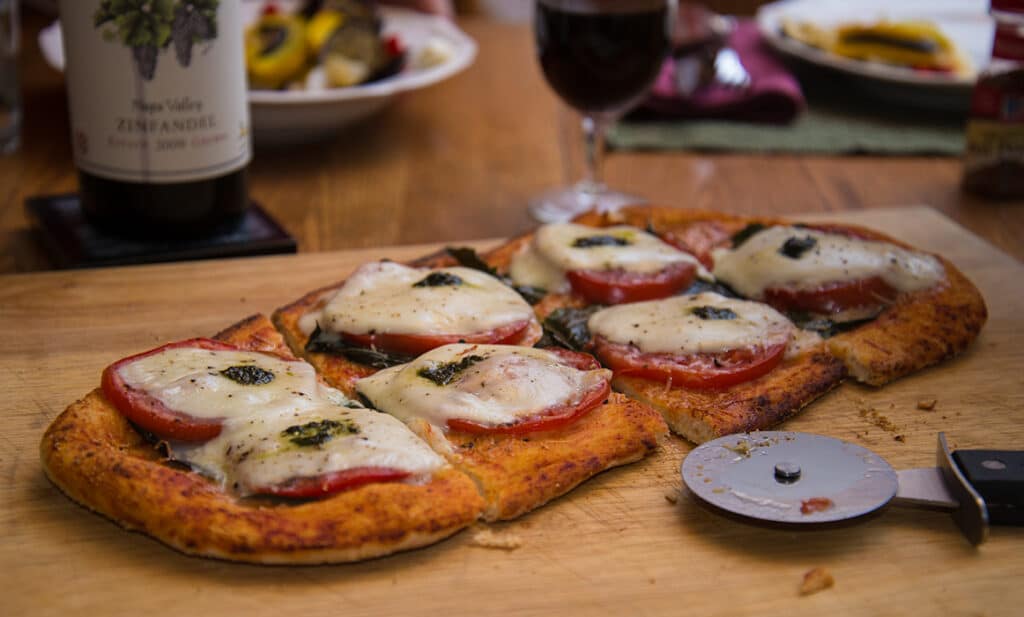
Great grilled pizza begins with a perfect crust and here’s the recipe to get it done right
Shhhhh. I’m gonna share a secret that could get me run outta town on a George Foreman Grill. I live in Chicago, and, even though I like deep dish, frankly, I prefer thin crusts like this one.
In this house, my wife is the baker, and a damn fine one. She has sure-fire hits from cookies to cakes to pies (click here for her all-purpose pie dough which we use for dessert pies as well as meat pies). I have always had a fear of flour that she is slowly kneading out of me. When I asked her to show me how she makes her pizza dough, I was shocked at how simple it is. There is no kneading and it freezes well. It is called a short dough because it it was originally made with shortening, a solid fat, but the term has come to mean a dough that has any oil in it. It makes a thin crust that resembles the style popular in Rome. The other great dough style is softer and fluffier, called Neapolitan. The addition of oil is the main distinction from Neapolitan dough and it gives the crust more weight, flavor, and a crispy crunch. Click here for more about the different styles of pizza crusts and pizzas around the world.

My wife’s recipe was inspired by one of her go-to reference books, No Need to Knead: Handmade Italian Breads in 90 Minutes by Suzanne Dunaway. She usually makes enough for two 14″ (35.6 cm) crusts, and we use one the next day and freeze the other.
A word about baking from a flour phobe. Working with flour and baking is very different than working with meat and vegetables. While physics is the reigning science in cooking meat, chemistry dominates baking. Using too much of this or that, using the wrong kind of flour, not letting it rise long enough, rising it at the wrong temp, handling it too roughly, even looking at it cross-wise can alter the outcome significantly. Until you get the hang of it, I recommend you stick pretty closely to these easy to follow instructions from my wife. But now that I’ve scared you, let me tell you that if you follow these simple instructions you will be well rewarded with a deliciously crisp and smoky grilled pizza!
Up your game: Join our Pitmaster Club. Try it out for free for 30 days. No credit card is needed. No spam. Join now and Be Amazing!
No Knead Roman-Style Pizza Crust Recipe
Makes:
Takes:
Equipment
- Stand mixer or hand mixer (or mix by hand)
- Rolling Pin
Ingredients
- 1 teaspoon instant yeast
- 1½ cups warm water, about body temp
- 4 ½ cups all-purpose flour Use unbleached flour if you can find it. It just smells and tastes better.
- 1 teaspoon Morton Coarse Kosher Salt
- 8 tablespoons olive oil
These recipes were created in US Customary measurements and the conversion to metric is being done by calculations. They should be accurate, but it is possible there could be an error. If you find one, please let us know in the comments at the bottom of the page
Method
- Wake the yeast. The yeast you buy in the baking aisle of the grocery is a powder made of dried dormant living organisms. You will bring them to life by adding them to the warm water in a small bowl and stirring. Let the mix sit for at least two minutes until it is all dissolved. The warm water wakes the dormant yeast cells, and they are hungry. When we mix them with the flour, they will rejoice at the feast and chow down. They start belching carbon dioxide bubbles, making alcohol, and things heat up. This is called "blooming the yeast".
- Make the dough. In a mixing bowl, stir together the flour and salt. Then add 6 tablespoons of oil, but not all of it, and stir it in. Then pour in the yeasty water and gently stir it in with the mixer on low. Resist the temptation to give 'er all she's got, Scottie, or you'll end up with flour in your face. It will not take long, about a minute, to mix it well enough. It does not have to be homogeneous, lumps are OK.
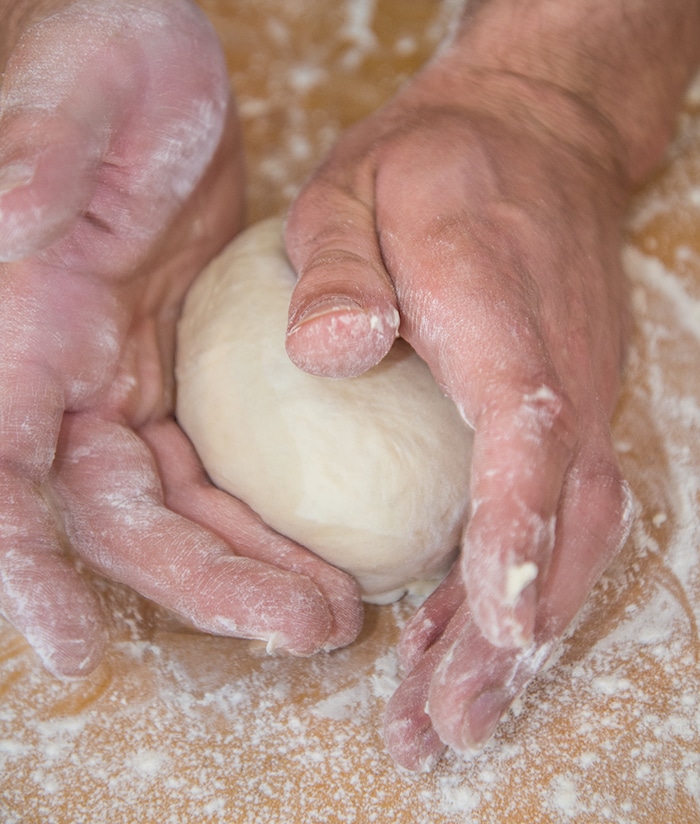
- First rise/fermentation. Dump the dough out of the bowl onto a clean table and with clean dry hands, work it gently into a ball. Clean the bowl and pour 1 tablespoon of oil into it and spread it all over all surfaces with your hands so it won’t stick to the bowl.
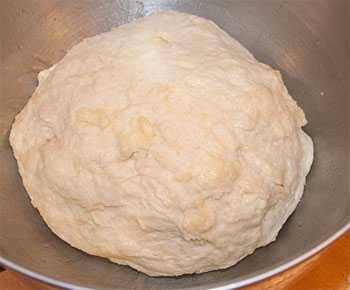
- Put the dough back in the bowl. There should be room enough in the bowl for it to more than double in size without peeking above the rim. Get a clean cloth or kitchen towel, make it thoroughly wet with warm water, then wring out most of the water. Cover the bowl with the towel, but make sure it is not touching the dough.
- Fire up. Turn the oven on high for one minute only, then turn it off. You are just trying to warm the oven to about 90°F (32.2°C) so the yeast will grow. Now put the bowl covered with the towel in the oven and set a timer for 1 hour. Here's where the magic happens. As soon as the yeastie beasties got mixed into the dough, they began to chow down, producing carbon dioxide gas and alcohol. There's not a lot of alcohol, but there is enough CO2 to make the dough double in size in about an hour and smell like a brewery. That's the part I like.
- Proof. You can make crust now if you are in a hurry, but 12 to 24 hours of aging, called proofing, really improves its flavor and browning on the bottom. The difference is noticeable. My wife makes her dough the night before, transfers it to another bowl with a tight cover, then puts it in the fridge for tomorrow night’s dinner. A good tight cover keeps the dough from drying out, so even a plate on the bowl will work. You can use plastic wrap, but believe it or not, that stuff allows air in and out.
- Form the crust. After proofing, you can make your pizzas, or you leave it in the fridge for 3 to 5 days, but that's all. Some experts think that aging it for this long really improves the flavor and crumb (baker talk for texture). You can wrap it in plastic and then foil and freeze it. It's not quite as good after freezing, but it is still better than the stuff you get in the stores. My wife usually cuts it in half and uses one half for a 14" (35.6 cm) pizza for the two of us, and freezes the other half.
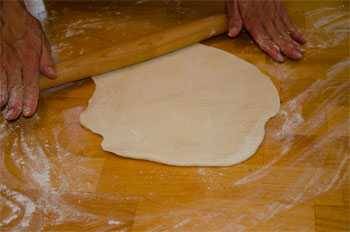
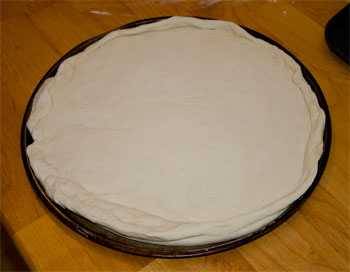
- You can make one thick crust pizza if you wish, but I recommend that you start thin especially if you are cooking on the grill. Cover a 2' x 2' (61 cm x 61 cm) work surface with a light coat of flour and roll the dough into a round disk or push it out with your fingers. Try not to overwork the dough. For our 14" (35.6 cm) pan we roll it out to about 15 or 16" (38.1 or 40.6 cm). The dough is elastic and it will shrink back a bit. Just work it out trying to make it uniform thickness in the center. Beware of thin spots that might break or overcook. Oil the pan with the remaining oil and slide the dough in. We like to sprinkle a couple of tablespoons of corn meal on the oil to give the crust a rustic texture. You may want to leave it a little thicker along the edge, making what we call a pizza bone. If you want to try spinning and throwing it, go for it. Just make sure the floor is clean.
- Dress the pie. Now paint a thin layer of olive oil on top of the dough. This helps keep the wet ingredients from making the crust soggy. For a thin crust, dress it and it should go directly into the oven. For a poofier crust, let it sit around for up to an hour and the dough will rise a bit, then dress the pizza.

High quality websites are expensive to run. If you help us, we’ll pay you back bigtime with an ad-free experience and a lot of freebies!
Millions come to AmazingRibs.com every month for high quality tested recipes, tips on technique, science, mythbusting, product reviews, and inspiration. But it is expensive to run a website with more than 2,000 pages and we don’t have a big corporate partner to subsidize us.
Our most important source of sustenance is people who join our Pitmaster Club. But please don’t think of it as a donation. Members get MANY great benefits. We block all third-party ads, we give members free ebooks, magazines, interviews, webinars, more recipes, a monthly sweepstakes with prizes worth up to $2,000, discounts on products, and best of all a community of like-minded cooks free of flame wars. Click below to see all the benefits, take a free 30 day trial, and help keep this site alive.
Post comments and questions below
1) Please try the search box at the top of every page before you ask for help.
2) Try to post your question to the appropriate page.
3) Tell us everything we need to know to help such as the type of cooker and thermometer. Dial thermometers are often off by as much as 50°F so if you are not using a good digital thermometer we probably can’t help you with time and temp questions. Please read this article about thermometers.
4) If you are a member of the Pitmaster Club, your comments login is probably different.
5) Posts with links in them may not appear immediately.
Moderators