



My brine recipe
This is my standard simple all purpose brine for everything except salmon. For salmon I have a different recipe. I know all the cookbooks and websites throw all kind of goodies in their brines, like apple juice, pepper, garlic, and more. But even if you soak pork, poultry, or other meats overnight very few of these large molecules get past the surface. A few may stick to the exterior, but all the rest go down the drain when you are done (the exception being seafood). It is far more efficient, and cheaper, to sprinkle seasonings on the surface of meat than to soak the meat in a dilute solution.
Try this experiment: Stir 1 tablespoon each of garlic powder and black pepper in a cup of hot water and let it sit for 30 minutes. Then pour it through a coffee filter, you get a dark potent liquid, but if you dry out the residue in the filter you discover that about 2/3 of the original weight is left behind. In other words, only about 1/3 dissolves. The rest is wasted. A colossal waste when you consider that a gallon of amped up brine can have three or four tablespoons each of salt and pepper. Instead, when the meat comes out of the brine, sprinkle a little salt and garlic on the surface and away you go. If you want apple juice flavor in your turkey (why, I don’t know), then inject it. Now that is effective and efficient. If you want garlic, sprinkle it on the surface. Same effect.
Recipes that use fruit juice, wine, beer, or even soft drinks instead of water, have a potentially hazardous side effect: Acidity. Acid can make your meat mushy, especially if you leave the meat in it for long.
So we recommend a really simple brine: Salt and water. That’s all you need to get juicier, tastier meat.
In general you want the total wet brine to weigh at least two to three times the weight of the meat so there is enough salt to do the job. This means that if you have 1 pound (453.6g) of meat you should make 2 to 3 pounds 907.2g to 1.4kg) of brine. A pound (453.6g) of water is about 2 cups (473.2mL). So if you have 1 pound (453.6g) of meat, you need 4 to 6 cups (946.4 to 1.42mL) of wet brine.
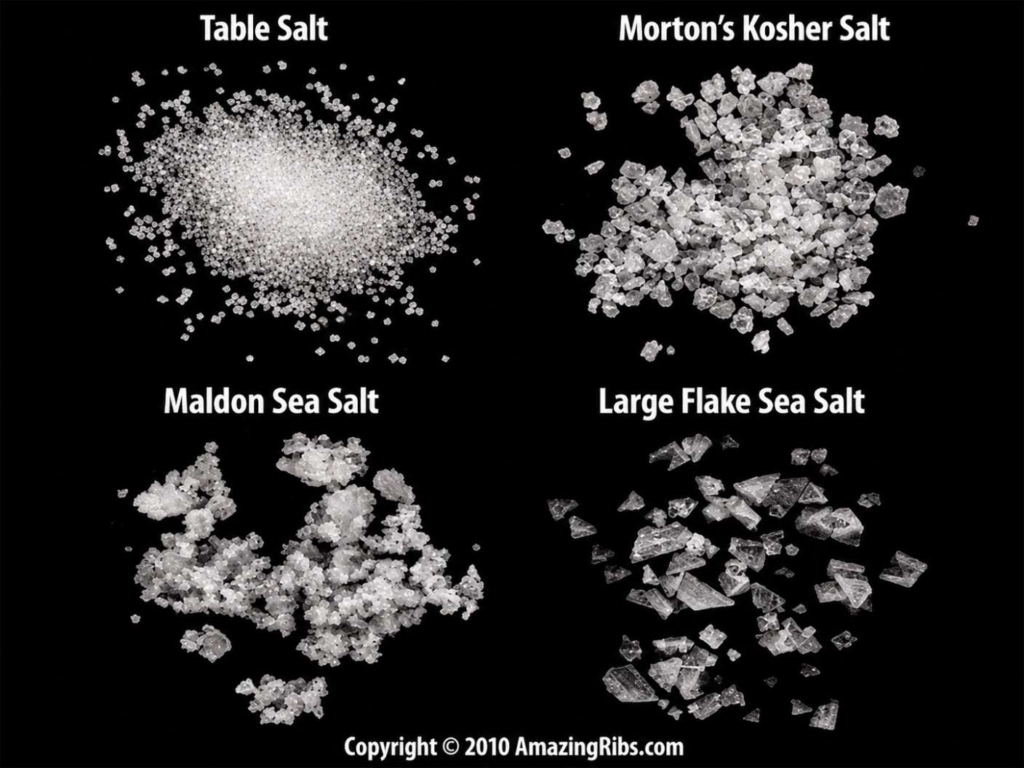
Our science advisor, Professor Greg Blonder, realized that one of the problems in making a wet brine is that all recipes must specify which kind of salt you must use. But if the recipe calls for Kosher salt and you only have table salt, you need to use a conversion table because kosher salt is made of flaky crystals and 1 tablespoon contains about half the salt as a tablespoon of table salt.
1 cup (288g) Morton’s table salt = 1.8 cups (518.4g) Morton’s Kosher Salt
Substitute one for the other without converting properly and you could badly oversalt your food. It gets weirder because different brands of salt have different volumes.
But Blonder knows that a pound (453.6g) of salt, regardless of type, regardless of volume, contains the same amount of sodium chloride. So if you don’t own an accurate scale, here’s a foolproof method he devised using Archimedes’ Principle of displacement:
Add one cup (236.6mL) of hot water to a two cup (~500mL) measuring cup. Then pour in salt, any salt, until the water line reaches 1.5 cups (355mL). That will be about 1/2 pound (226.8g) of salt by weight. “You’ll end up pouring in nearly two cups (~1kg) of Morton’s kosher salt — it seems like it will never end — but once it enters the measuring cup, the water infiltrates the voids between the grains of salt, and compensates for the lower density” he says. “Then dump this slurry into a gallon of cold water and away you go. Easy to remember. Impossible to screw up.” This recipe results in a 6.4% brine.

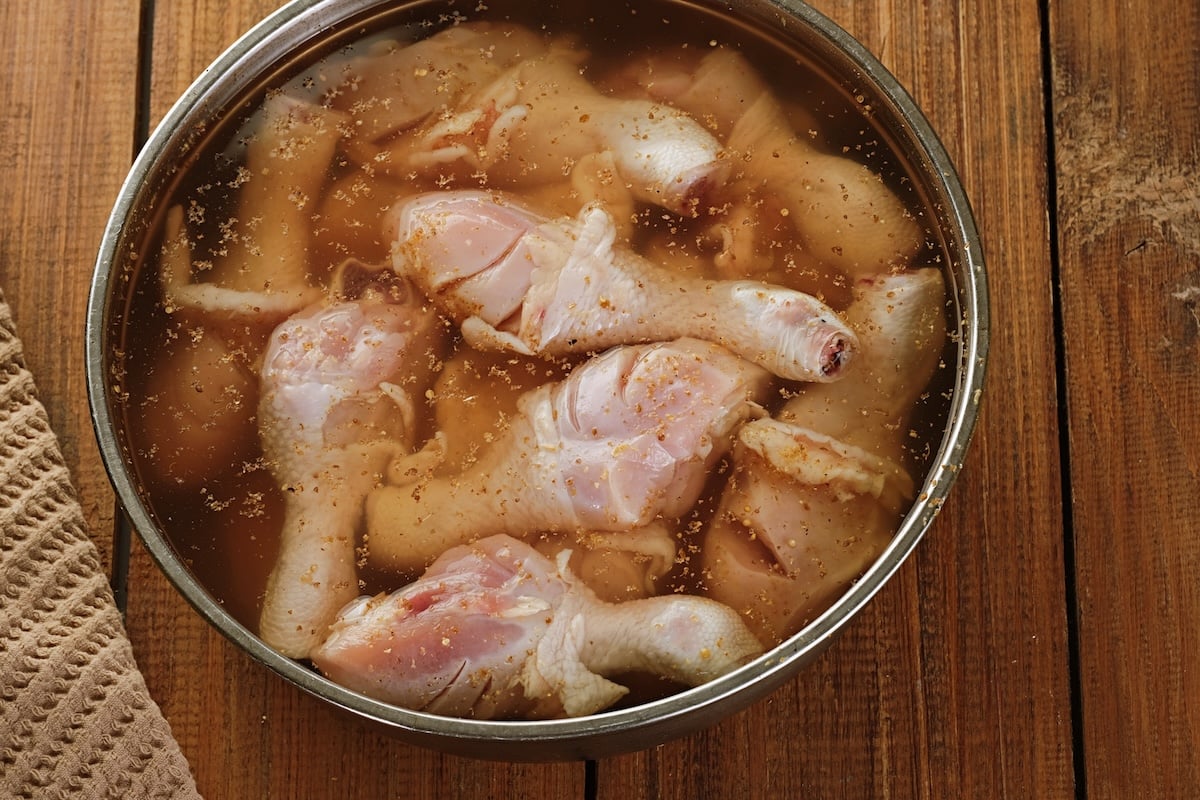
Wet Brine Recipe—The Simple Blonder Brine (6.4%)
Ingredients
Method
- Prep. Add one cup of hot water to a two cup (~500mL) measuring cup. Then pour in salt, any salt, until the water line reaches 1.5 cups. (355mL). The water will swallow up almost exactly 1/2 pound(226.8g) regardless of whether you use table salt, kosher salt, pickling salt, or sea salt.
- Pour the slurry into a very clean non-reactive container large enough to hold the meat and 1 gallon (3.8L) of water. Then add the sugar. Chose your container carefully. It needs to be food grade, large enough to hold the meat and the brine with the meat submerged, and it cannot be made of aluminum, copper, or cast iron, all of which can react with the salt. Do not use garbage bags or a garbage can or a bucket from Home Depot. They are not food grade. Do not use a styrofoam cooler. It might give the meat an off flavor and you'll never get the cooler clean when you're done.
- Zipper bags work fine. For large cuts get Reynolds Brining Bags, Ziploc XL, and XXL bags. If you brine in a zipper bag, periodically grab the bag and squish things around and flip the meat so the brine can get in from all sides. Place the bag in a roasting pan to catch leaks. You can also use bowls, pots, and Tupperware.
- A 5 gallon (19L) drink cooler will handle turkeys and whole raw hams. If the cooler is larger, you may need to scale up the brine recipe to make sure the meat is submerged.
- The beauty of using a cooler is that you don’t need to put it in the fridge. To keep the brine and the meat safe, toss in a gallon zipper bag filled with ice. Or two. The bags should be tight so that when the ice melts it doesn’t dilute the brine. Don’t use bags of ice from the store because they often have holes and leak and they are dirty. People often walk on them in the factory and on the delivery truck (I know, I worked in and ice factory in college – best job in Gainesville, FL).
- Another option is to fill a quart (950mL) juice or soda bottle with water and freeze it. Then screw on the cap. Wait until after the bottle has frozen because water expands when it freezes and it can blow off the cap. Wash off the outside of the bottle thoroughly and toss it in the brine.
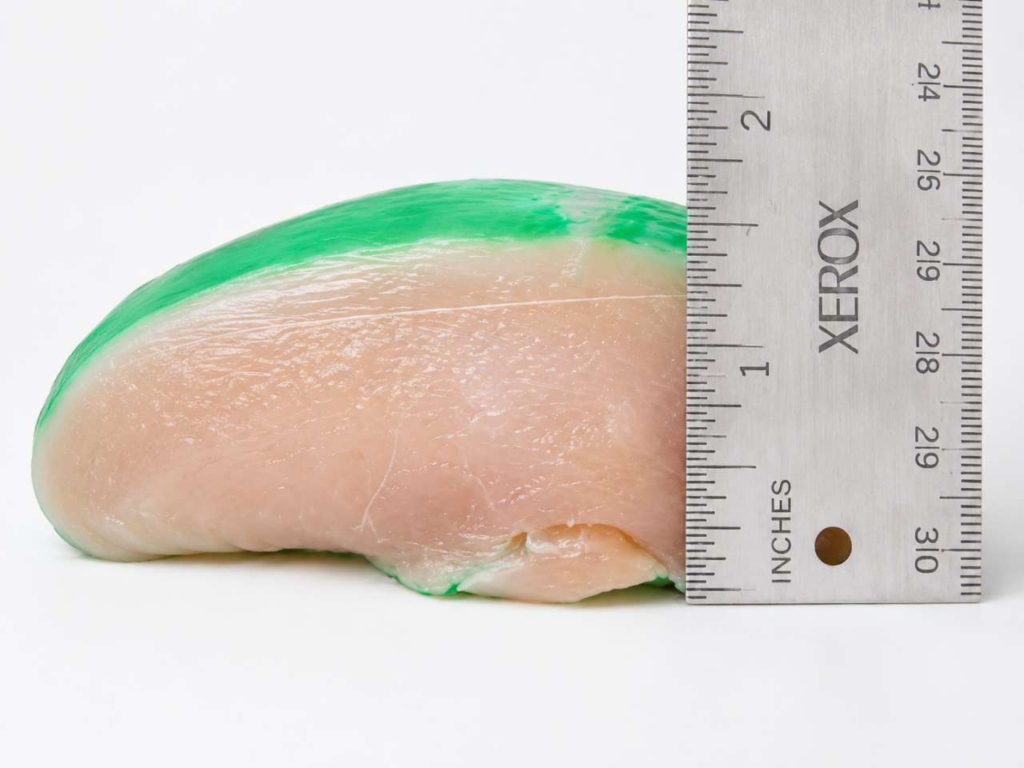
- Brining. Submerge the meat in the brine and refrigerate. Keep the brine under 40°F (4.4°C), adding more ice when necessary. If you can see unmelted ice, it is probably below 40°F (4.4°C). You may need to weight the meat down to submerge it. If you cannot submerge it, make sure you turn it periodically and extend it's time in the bath. All you need is 1 to 2 hours for meats 2" (5cm) thick or less. For a piece of meat 3". (7.5cm) thick or more, go 8 to 24 hours. Brine turkeys breast side down. Move the bird around and get the air bubble out of the cavity. Most of the brine will enter the meat through the cavity, since the skin is like a water-resistant jacket. But keep in mind, brines move very slowly at refrigerator temp. When you cook, they move fast if you cook low and slow.
- Prepare to cook. When it is time to cook, remove the meat, rinse with cold water to wash excess salt off the surface, and thoroughly pat dry with paper towels. Patting dry is important or the surface might steam and not brown properly.
- Shortcut: Use metrics to make brinesMaking brines is easiest using metrics and a scale.1 liter = 1000 gm = 1 kilogram6% brine: 1 liter water with 60 grams any salt (easy to scale up or down)4% brine: 1 liter water with 40 grams any salt (easy to scale up or down) Wet brine meat in a ratio of 2.5 parts brine to 1 part meat. So for a 3 pound chicken (about 1.4 kg) use 3.5 kg of a brine or: 1/2" (1.3cm) thick meat should be brined for about 1/2 hour in the refrigerator 1" (2.5cm) thick meat should be brined for about 1 hour in the refrigerator 2" (5cm) thick meat should be brined for about 4 hours in the refrigerator 3" (7.5cm) thick meat should be brined for about 12 hours in the refrigerator


Before you can post a comment or question you must sign into our commenting partner, Disqus. This helps make sure everyone hanging around the grill is civil. We do not tolerate nastiness, racism, porn, inappropriate language, or attacks on others. All comments are the property of AmazingRibs.com and we reserve the right to quote them, edit them, delete them, and block people from making future comments.
Please leave comments and questions on the same page that is devoted to that subject so others can see questions and our answers when they are reading about the subject. You must enable JavaScript to use the comments section, and you must accept cookies to post comments. Note: the software that runs Disqus is different from the Pitmaster Club, so members need to sign into the Pitmaster Club separately.