
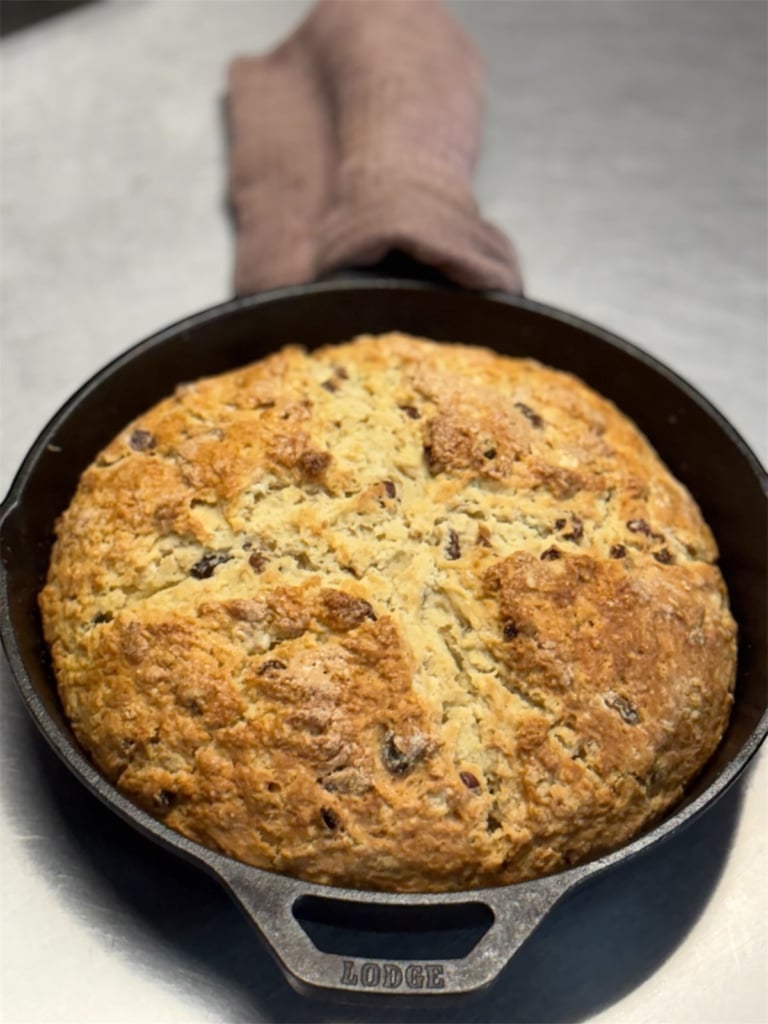
You can bake bread on a grill? Yes! It’s super easy.
The beauty of quick breads is that you don’t need any yeast. With this Irish soda bread recipe, you don’t even need an oven. With steady indirect heat and the lid down, your gas or charcoal grill functions like an outdoor oven. Luckily, Irish soda bread is one of the simplest breads ever devised. Not only is there no yeast, there’s no proofing time, and no kneading. This bread relies entirely on baking soda reacting with acidic buttermilk for lift, which makes it particularly well suited for baking on a grill. If your oven is full or you prefer to cook outdoors, this method delivers a tender crumb and crisp golden crust. The key is a stable temperature of 375°F using a two-zone grill setup.
The science of Irish soda bread
This bread depends on flour for structure, buttermilk for acidity, and baking soda for leavening. When buttermilk meets baking soda, lactic acid in the buttermilk interacts with the baking soda, producing carbon dioxide gas. This gas gets trapped in the dough or batter, causing it to rise and creating a light, tender texture. Click here to learn more about the science of baking soda. The leavening reaction begins immediately, so the dough should be baked soon after mixing. Like other quick breads, Irish soda bread does not benefit from resting. It’s also essential to mix the dough quickly and briefly without overhandling, as overmixing develops excess gluten and creates a tough, dense loaf instead of a tender one. It’s the same principle used when mixing up pancakes, another type of quick bread. The dough or batter should look slightly shaggy when fully mixed.
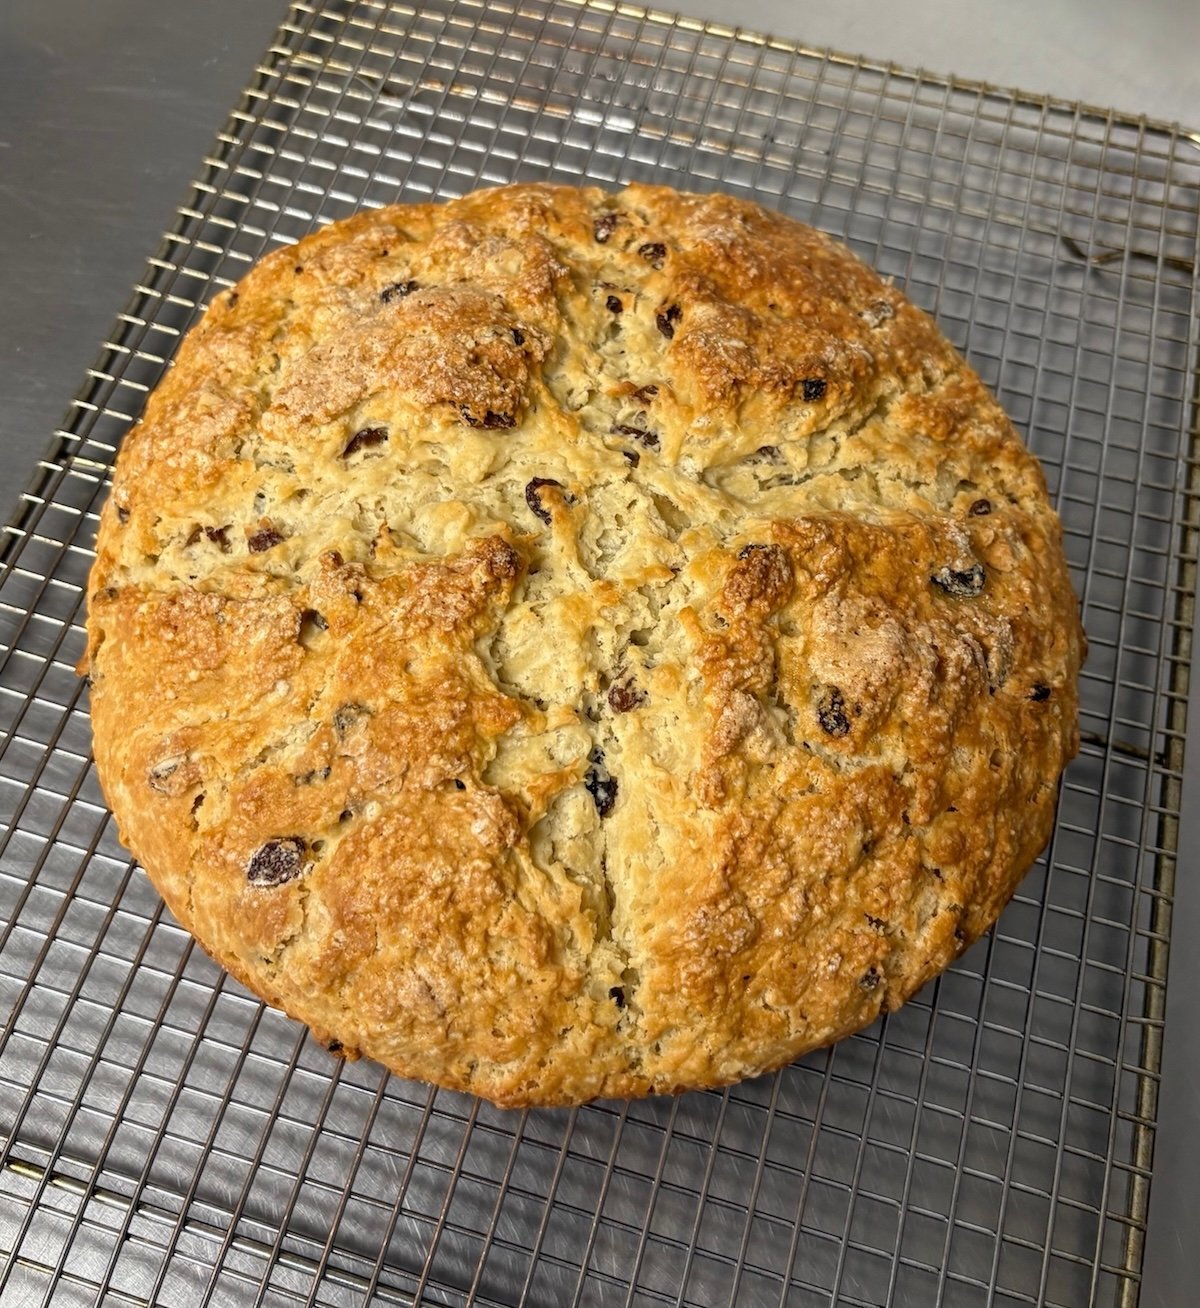
Traditional Irish soda bread has an “X” cut into the top, not as decoration, but because it allows heat to penetrate faster, which helps the dough expand into a higher, lighter loaf. When the bread is done, it should be lightly browned on top and register 200 to 205°F on an instant-read thermometer. At that temperature, the interior structure has set and the loaf will slice cleanly without being gummy.
Irish Soda Bread FAQs
Yes. Mix one tablespoon lemon juice or distilled white vinegar into 1 3/4 cups whole milk and let it sit for five minutes before using. The acids in lemon juice or vinegar are what activate the baking soda.
If you need to prep ahead, measure the dry ingredients and wet ingredients separately and combine them just before baking. You can also bake the bread completely early in the day then rewarm it gently on the grill at 300°F for 8 to 10 minutes before serving. But to get the best rise and a light texture in the bread, you want to get the mixed dough onto the grill within about 10 to 15 minutes of combining the wet and dry ingredients. The leavening reaction between buttermilk and baking soda happens immediately after they are mixed together.
No. A gas or charcoal grill with a 2-zone set up at 375°F functions like an outdoor oven. As long as the loaf is positioned away from direct flame and the temperature remains steady, the results are comparable to oven baking inside.
Use a two-zone fire and position the skillet over the cooler side of the grill. A heavy cast iron pan protects the bottom crust and promotes even baking.
No. This bread benefits from clean, neutral heat. Smoke can overpower the mild flavor of the bread and is not recommended for this recipe.
It should look golden brown on the surface, and it should reach 200 to 205°F on an instant-read thermometer. At this point the crumb is fully set, and the loaf will slice cleanly without being gummy.
Irish Soda Bread on The Grill
Makes:
Takes:
Ingredients
- 4 cups all-purpose flour plus some for dusting
- 1/4 cup granulated sugar
- 1 teaspoon fine sea salt
- 1 teaspoon baking soda
- 6 tablespoons cold salted butter cut in small pieces
- 1 3/4 cups cold buttermilk
- 1 large egg
- 1 cup raisins or dried cranberries optional
These recipes were created in US Customary measurements and the conversion to metric is being done by calculations. They should be accurate, but it is possible there could be an error. If you find one, please let us know in the comments at the bottom of the page
Method
- Fire up. Preheat your grill to 375°F using a two-zone setup. On a gas grill, leave one burner on medium and one burner off, placing the bread over the unlit side. (If you have 3 or more burners, turn the outside burners on and the leave the middle burners off, placing the bread in the middle for more even heating.) On a charcoal grill, bank the coals to one side and position the bread over the cooler side. Do not add wood chunks or smoke. Place a 10-inch cast iron skillet on the grill while it preheats so the pan heats thoroughly.
- Mix the dough. In a large bowl, whisk together the flour, sugar, salt, and baking soda. Add the cold butter and work it into the flour with your fingers or a pastry cutter until the mixture resembles coarse crumbs. If using fruit, stir it in now. In a separate bowl, whisk together the buttermilk and egg. Add this mixture to the flour and stir gently until just combined. The dough should look shaggy and slightly sticky. Do not overmix. Turn the dough onto a lightly floured surface and gently shape it into a round about two inches thick.
- Add the dough to the pan. Carefully remove the hot skillet from the grill and lightly butter or grease it. Place the dough in the center and score a deep “X” across the top with a sharp knife.
- Bake. Return the skillet to the grill over indirect heat and close the lid. Bake for 45 to 55 minutes, maintaining a steady temperature of 375°F. Rotate the pan if needed for even browning. The bread is done when the crust is golden brown, the loaf sounds hollow when tapped, and the internal temperature reaches 200 to 205°F.
- Cool and serve. Remove from the grill and cool on a rack for at least 20 minutes before slicing.
High quality websites are expensive to run. If you help us, we’ll pay you back bigtime with an ad-free experience and a lot of freebies!
Millions come to AmazingRibs.com every month for high quality tested recipes, tips on technique, science, mythbusting, product reviews, and inspiration. But it is expensive to run a website with more than 2,000 pages and we don’t have a big corporate partner to subsidize us.
Our most important source of sustenance is people who join our Pitmaster Club. But please don’t think of it as a donation. Members get MANY great benefits. We block all third-party ads, we give members free ebooks, magazines, interviews, webinars, more recipes, a monthly sweepstakes with prizes worth up to $2,000, discounts on products, and best of all a community of like-minded cooks free of flame wars. Click below to see all the benefits, take a free 30 day trial, and help keep this site alive.
Post comments and questions below
1) Please try the search box at the top of every page before you ask for help.
2) Try to post your question to the appropriate page.
3) Tell us everything we need to know to help such as the type of cooker and thermometer. Dial thermometers are often off by as much as 50°F so if you are not using a good digital thermometer we probably can’t help you with time and temp questions. Please read this article about thermometers.
4) If you are a member of the Pitmaster Club, your comments login is probably different.
5) Posts with links in them may not appear immediately.
Moderators