



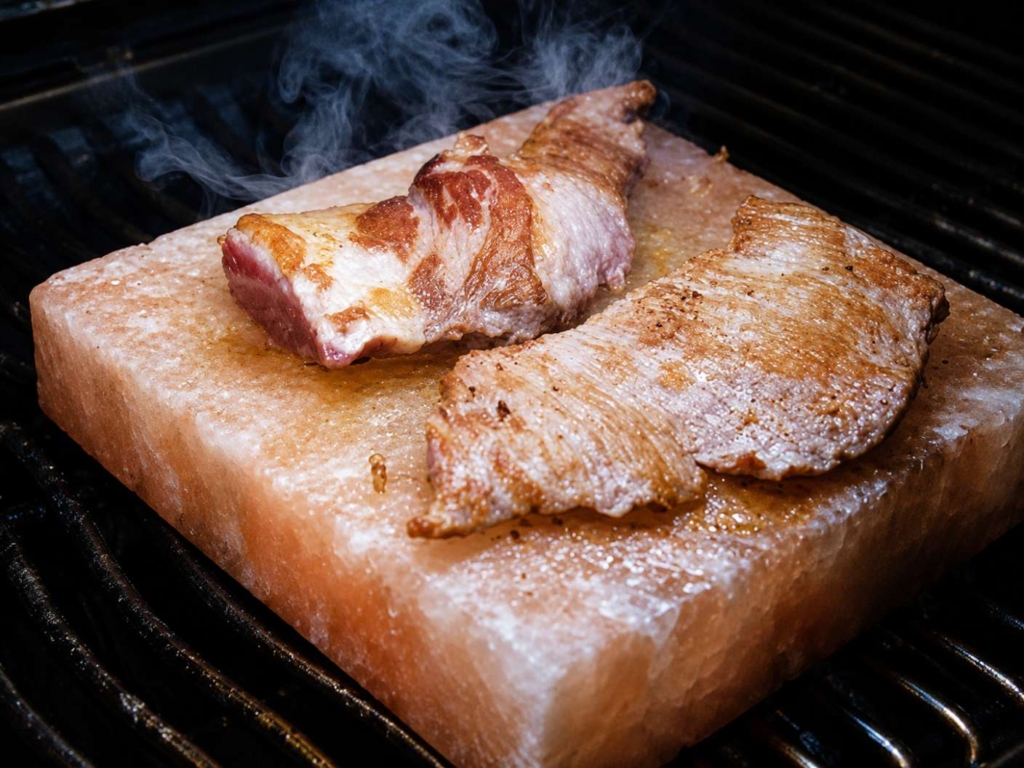
Salt slabs sear meats beautifully and season food automatically. Plus, they make an awesome table presentation.
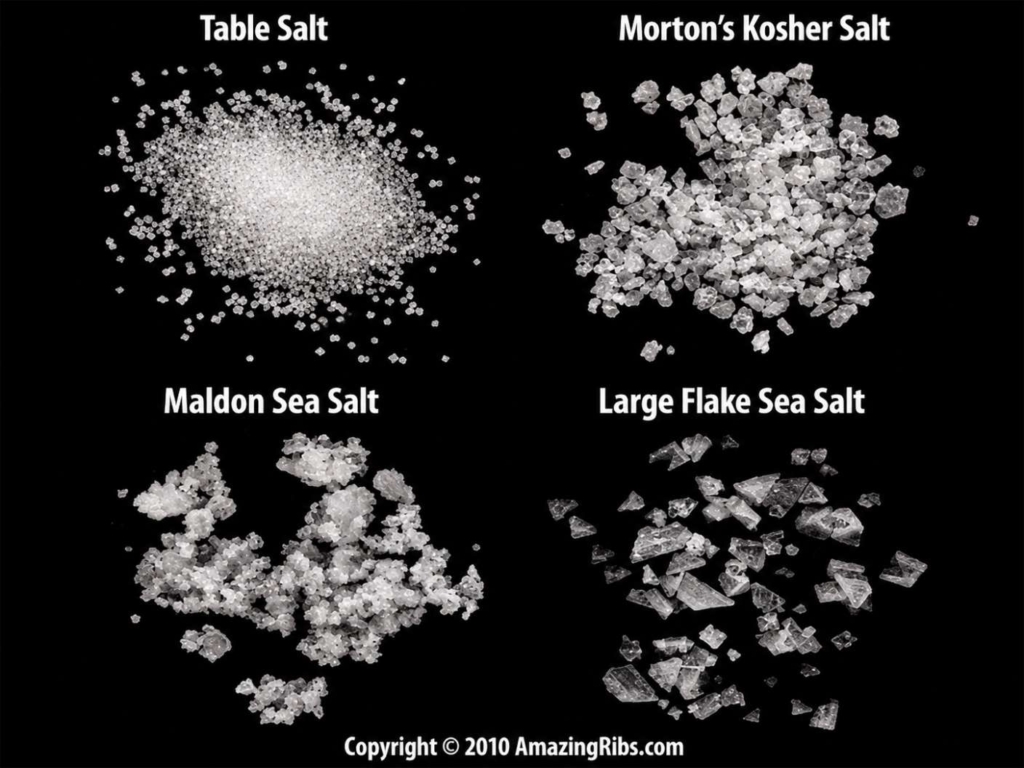
Pink Himalayan salt blocks are actually mined in Pakistan, not the Himalayas (it’s a long story) and they are most definitely not the same as pink curing salt used for curing bacon and corned beef (see my discussion on the science of salt).
When they are slowly heated on a grill or cooktop, they soak up the heat, hold it well, and you can cook on them, just like a griddle. The difference is that the moisture in the food dissolves some of the salt, which then penetrates the food, creating a delicate balanced saltiness that you can’t get from other methods. In the mouth, the salt seems to be more evenly distributed than when you sprinkle individual salt crystals on the food. Here’s my favorite thing to do with a salt block: heat it slowly on the grill to about 500°F, bring it to the dinner table, and let my guests sear 1/2″ thick slices of flank steak on it.
To prevent cracking, the block must be warmed in stages, first on low heat, then medium, then high in 15-minute increments. On a gas grill, start it directly over a low burner with the lid down. After 15 minutes, turn that burner and another burner to medium, and 15 minutes later, increase the heat to high. You could also heat the block directly over the grill’s side burner if it has one, gradually increasing the flame. On a charcoal grill, use a 2-zone setup and start on the indirect side for 15 minutes, then move it closer to the coals for another 15, then right over the coals until it’s raging hot. If you’re inside on an electric range, put the block on a metal ring such as a wok ring, a tart pan with a removable bottom, so the block is not in contact with the burner. It can take 45 minutes to get the block up to searing temperatures of 450 to 500°F. To check the temp, use an infrared gun thermometer or sprinkle on a drop of water. It should disappear almost instantly.
The surface is surprisingly non-stick so there is no need to oil them for meats. Whatever you do, do not put marinated or brined meats on your salt block. The water seeps down in, turns to steam, and cracks your block. Plus, brined meats will come out too salty. If you’re making a show of cooking on hot blocks at the table, stick thinly sliced raw meats and table sauces. Salt blocks take hours to cool, perhaps only 50°F in the first 30 minutes, so they will stay hot through the meal. Leave at least 1/4″ between slices and turn the food with metal tongs or spatulas (no plastic) after it has seared on one side. You may want to cook the food for a shorter time on side two to make sure it doesn’t overcook in the center. Getting the proper thickness and doneness takes a little practice, specially since the salt block is constantly declining in temperature on the table. Likewise, meat thermometers aren’t much help on these thin slices. Here’s one instance where you have to go by sight and instinct.
To clean a salt block, skip the soap. Just use warm water and a stainless steel scrubbing pad. The burnt-on bits will come off easily, along with a fine layer of salt. Dry the block with paper towels and put it on a rack so air can circulate all around until it is thoroughly dry. Over time, the heat and permeating juices darken them and give them a rich glow somewhere between marble, amber, and jewel-like quartz. Don’t worry about pathogens getting stuck inside. The heat and salinity make salt slabs very unfriendly to bacteria. You’ll get a dozen or more uses from a single block before it starts to crack and disintegrate, at which time you can crumble it up and use it in cooking if it hasn’t absorbed too many strong flavors. Or save it to melt icy sidewalks next winter.
Some blocks are higher in quality than others, so order cooking grade salt blocks from a specialist like AtTheMeadow.com. Make sure they are at least 1 1/2″ thick. The 8 x 8 x 2″ slabs cost about $50.

Before you can post a comment or question you must sign into our commenting partner, Disqus. This helps make sure everyone hanging around the grill is civil. We do not tolerate nastiness, racism, porn, inappropriate language, or attacks on others. All comments are the property of AmazingRibs.com and we reserve the right to quote them, edit them, delete them, and block people from making future comments.
Please leave comments and questions on the same page that is devoted to that subject so others can see questions and our answers when they are reading about the subject. You must enable JavaScript to use the comments section, and you must accept cookies to post comments. Note: the software that runs Disqus is different from the Pitmaster Club, so members need to sign into the Pitmaster Club separately.