YOU ARE HERE >> AmazingRibs » Ratings & Reviews » Ratings Reviews And Buying Guides » Ratings & Reviews Of Hundreds Of Grills Smokers Hog Roasters And More » Char-Griller Grand Champ Offset Smoker Review And Rating
Char-Griller Grand Champ Offset Smoker Review And Rating
All of our reviews are done independently by our team of testers and are in no way influenced by advertising or other monetary compensation from manufacturers. Click here to learn more about our unbiased product review process.
Published On: 1/4/2023 Last Modified: 11/6/2025
March 7, 2024. We originally awarded this smoker our top Platinum Medal for offering relatively high quality and performance for a modest price. Not cheap as the lightweight COS tin can offset smokers we advise against buying, but nowhere near the price of competition grade, quarter-inch steel offsets, Champ is, or maybe was, a viable entry level stick burner. Sadly, something is changing at Char-Griller. Champ has been out of stock for a long time, and our contacts stopped responding to calls and emails. Customer complaints about defective products and poor to non-existent customer service are mounting. So we’re downgrading our rating. If Char-Griller can get back on course and Champ becomes readily available again, we will restore its Platinum status.
Many years ago while walking the aisles of my local big box hardware store, I was drawn in by an inexpensive offset horizontal smoker – the Char-Griller Smokin’ Pro. Having been intrigued for a while with the idea of going old school with a “stickburner,” I slapped my money down and rushed home to do an overnight cook.
While the image of how my virgin outing with my cheap offset smoker (“C.O.S.”) would go was rather glamorous, the reality is that I spent the entire night fighting to maintain the temperature of the smoker by feeding it an endless supply of split fruit wood only to end up with a brisket that was both undercooked and over smoked (the kind that has you burping smoke for days). Over the next year, I spent countless hours scouring the internet for modifications to this smoker until finally giving up and moving to a much more manageable Weber Smokey Mountain.
About the Char-Griller Grand Champ Offset Smoker
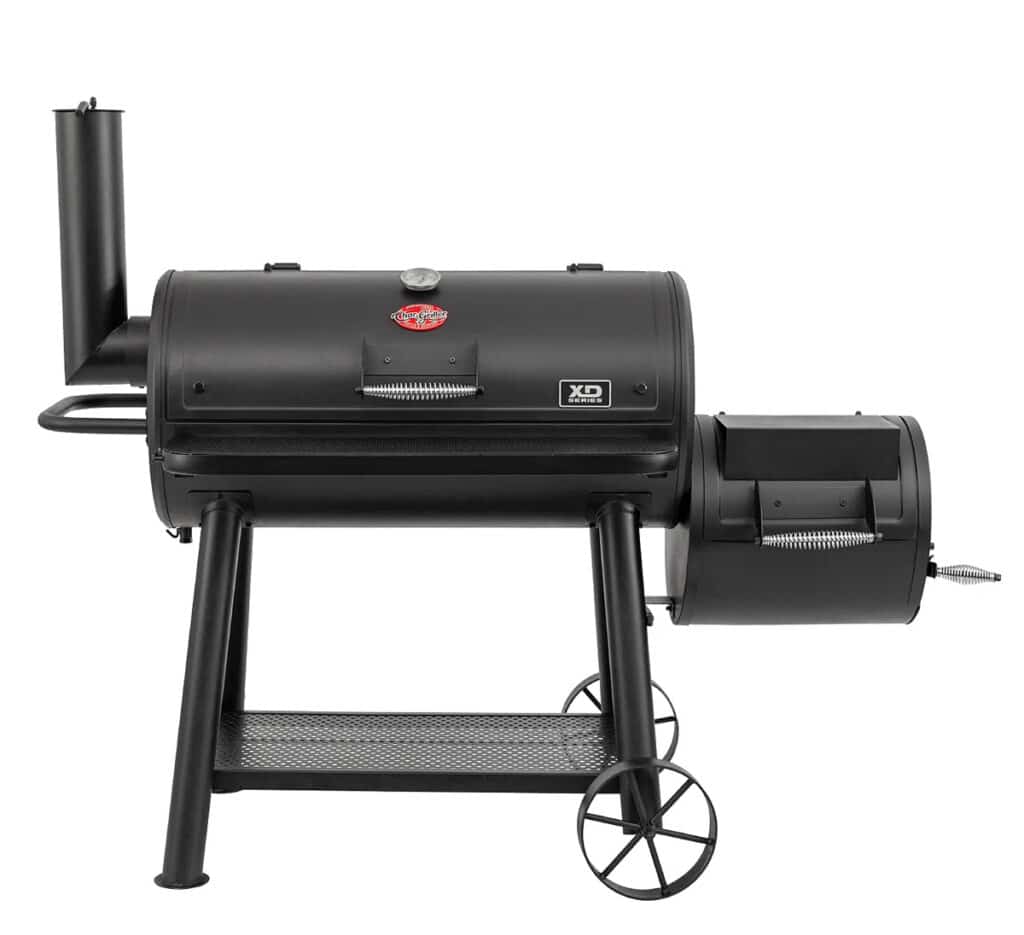
Fast forward to today and the arrival to my home of the Char-Griller Grand Champ Offset Smoker, a heavy-duty horizontal smoker that was a significant upgrade to that long-abandoned C.O.S.
Like what you’re reading? Click here to get Smoke Signals, our free monthly email that tells you about new articles, recipes, product reviews, science, myth-busting, and more. Be Amazing!
The Features
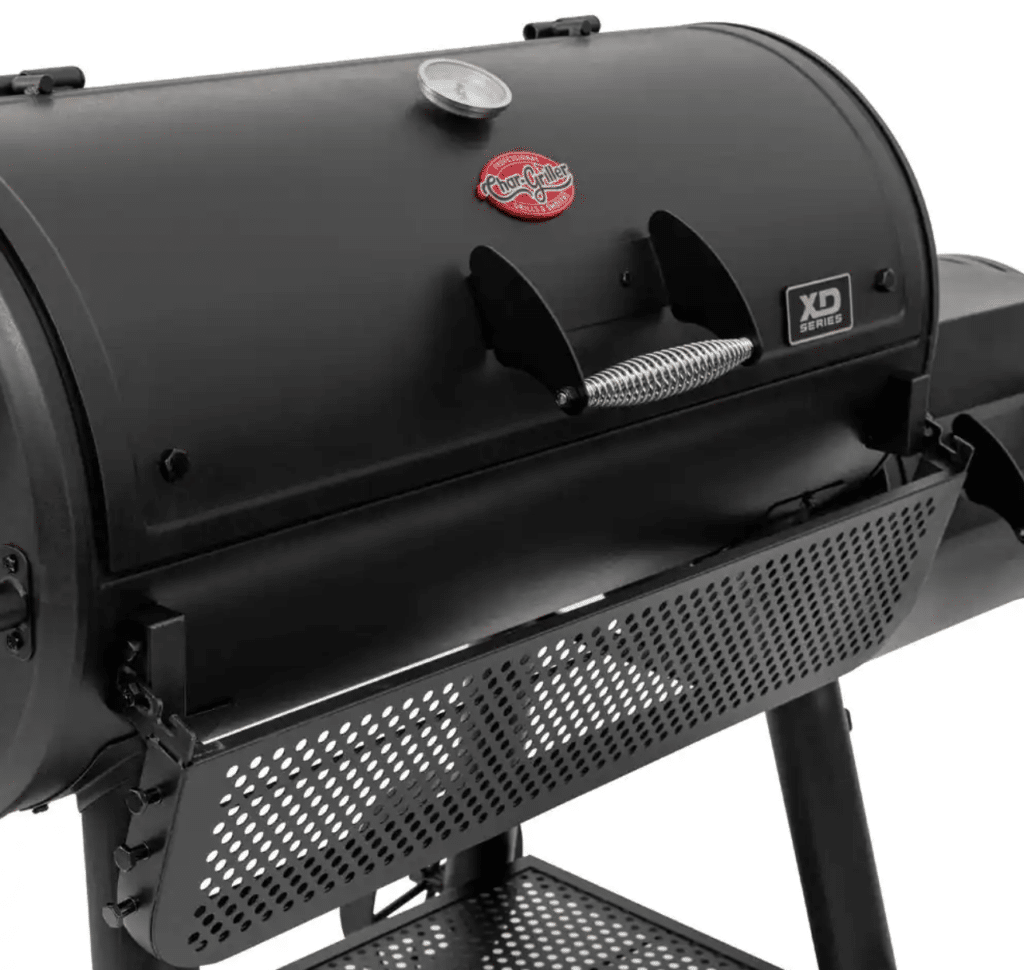
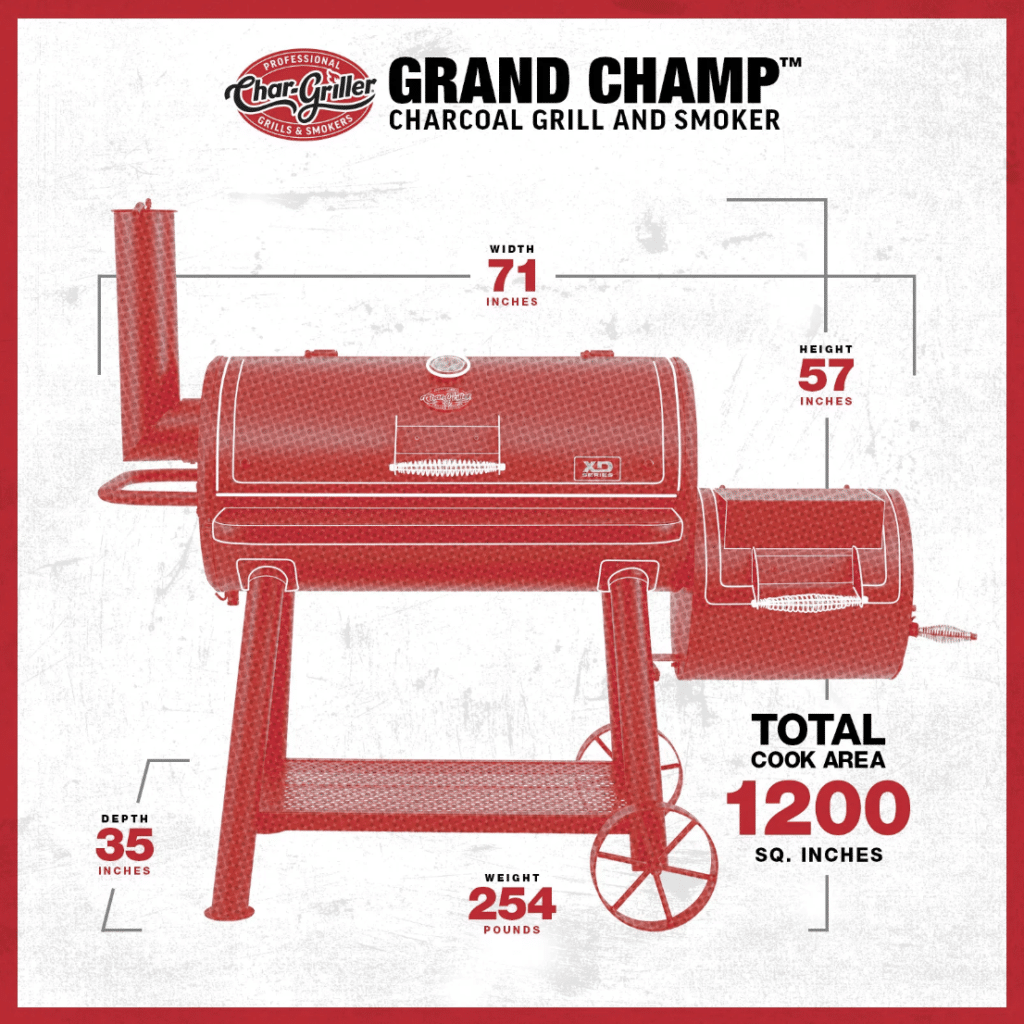
Priced at $599.99 MSRP, the Grand Champ is certainly more expensive than Char-Griller’s entry-level Smokin’ Pro but the significant upgrade to the construction and the attention to detail make it worth the price. The quality of the materials is immediately evident, featuring 12-gauge (2.5 mm) steel and a total weight of the unit coming in at a hefty 250 pounds. In fact, during a recent storm, we had a rather large section of a tree land on the Grand Champ. After cutting the smoker free with a chainsaw, I discovered that it had come through almost entirely unscathed aside from a slight bend to the handle on the main chamber’s door.
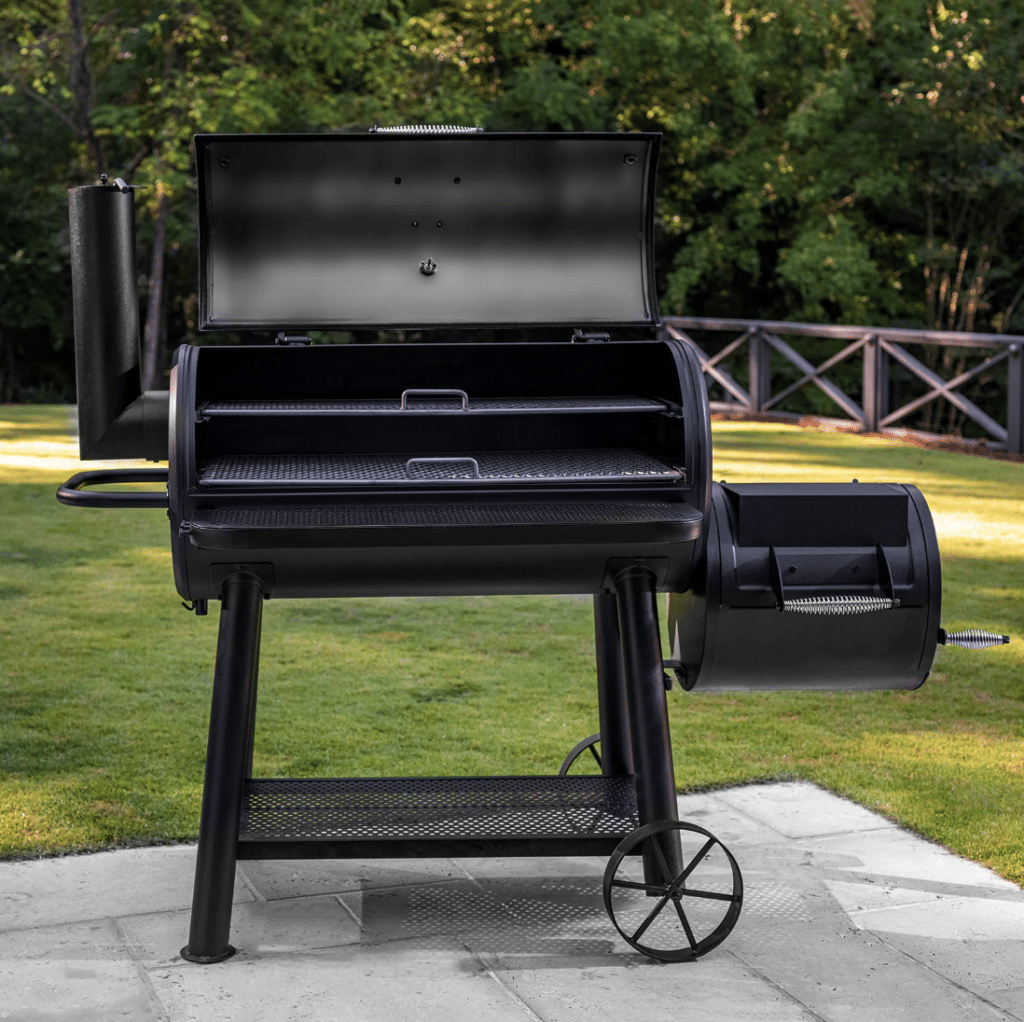
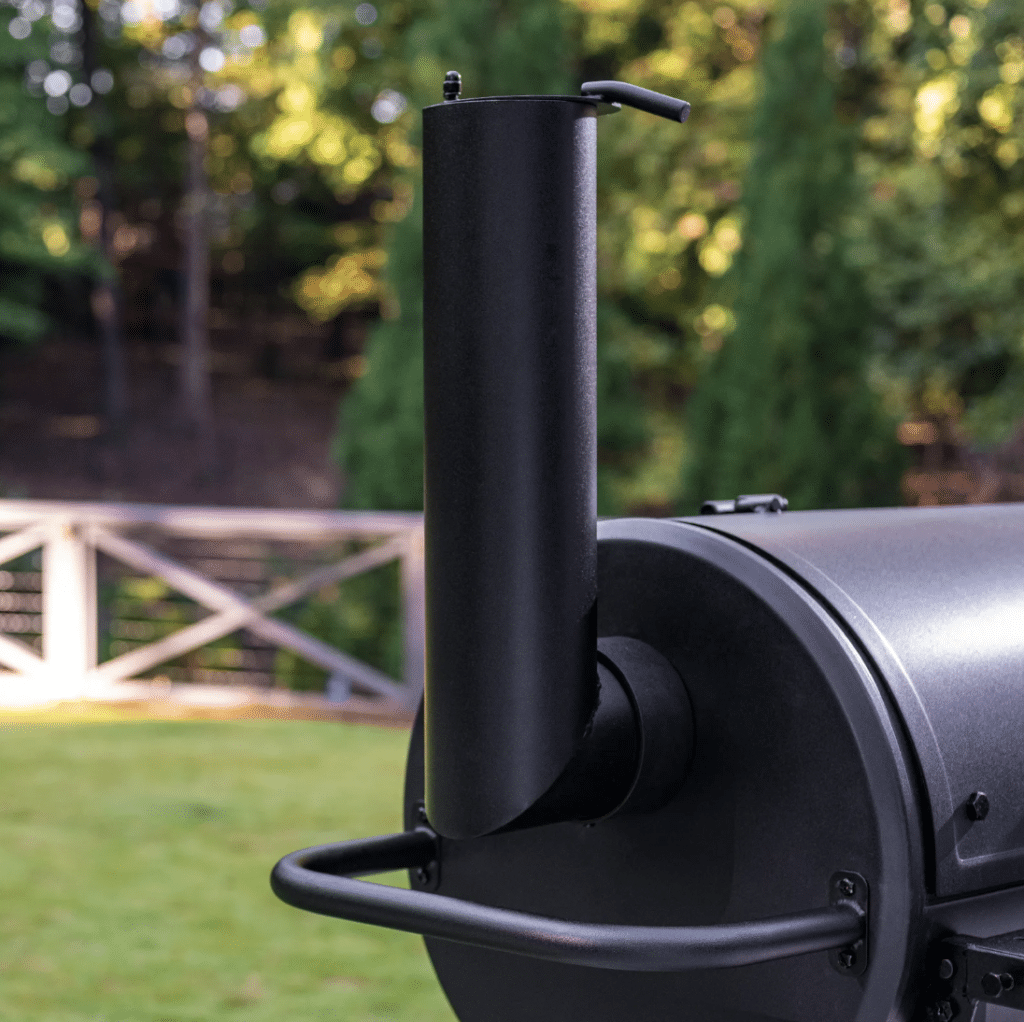
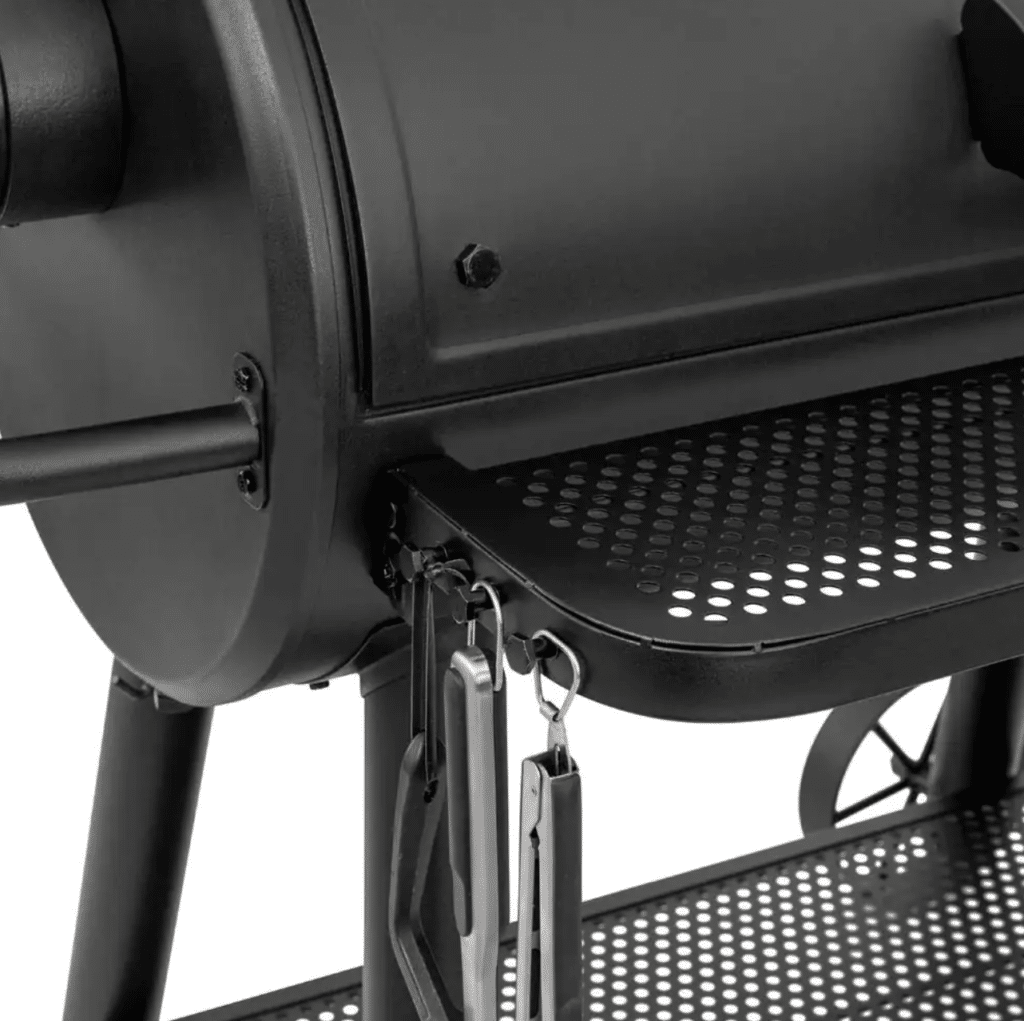
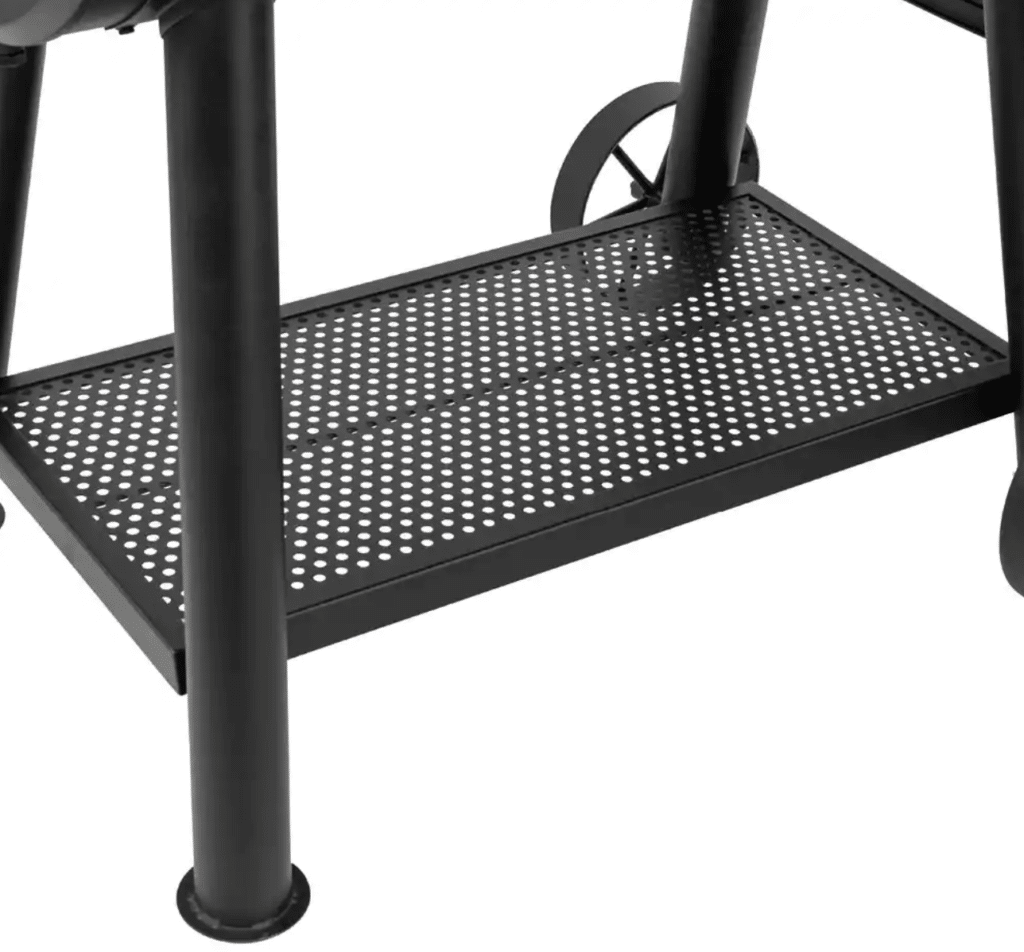
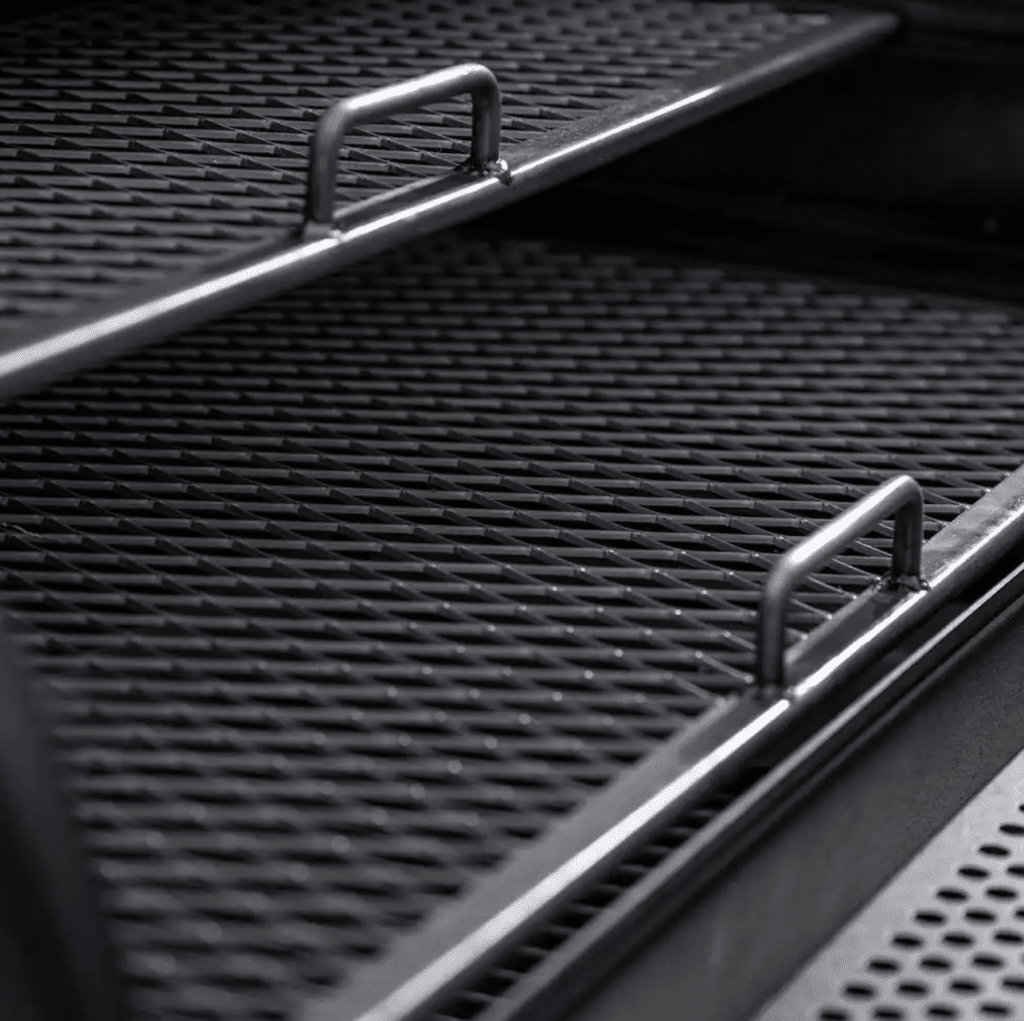
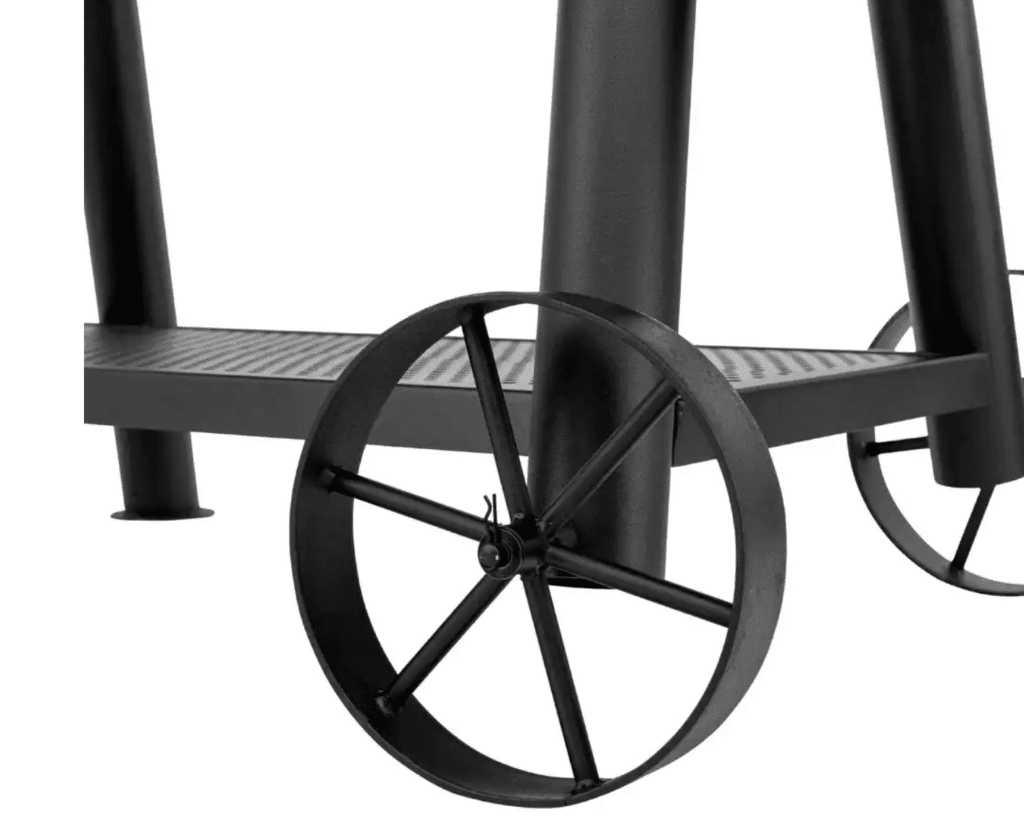
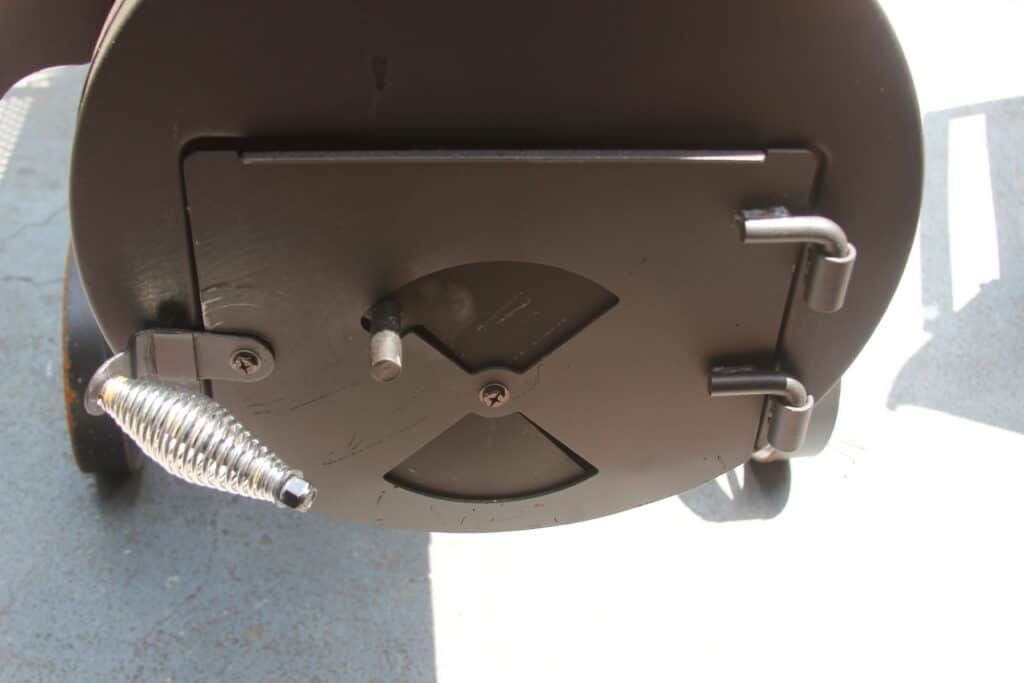
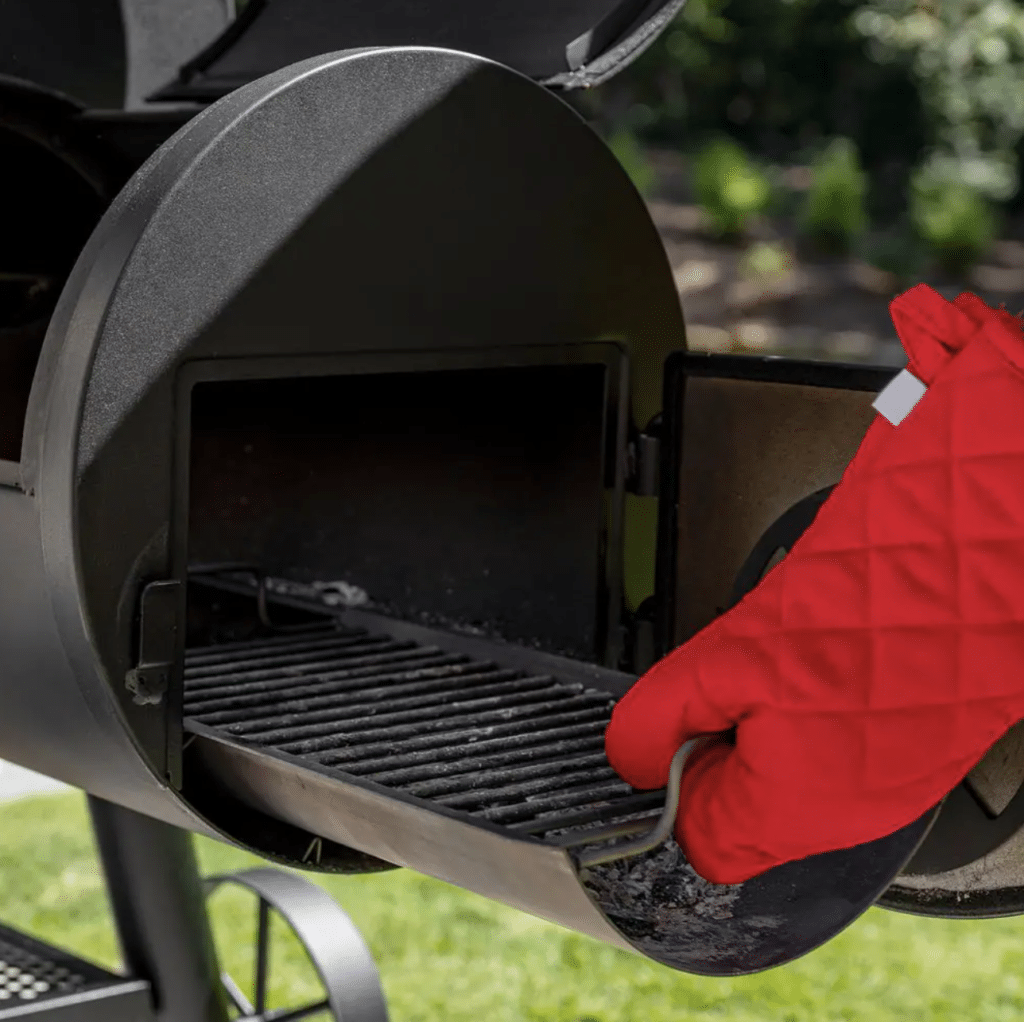
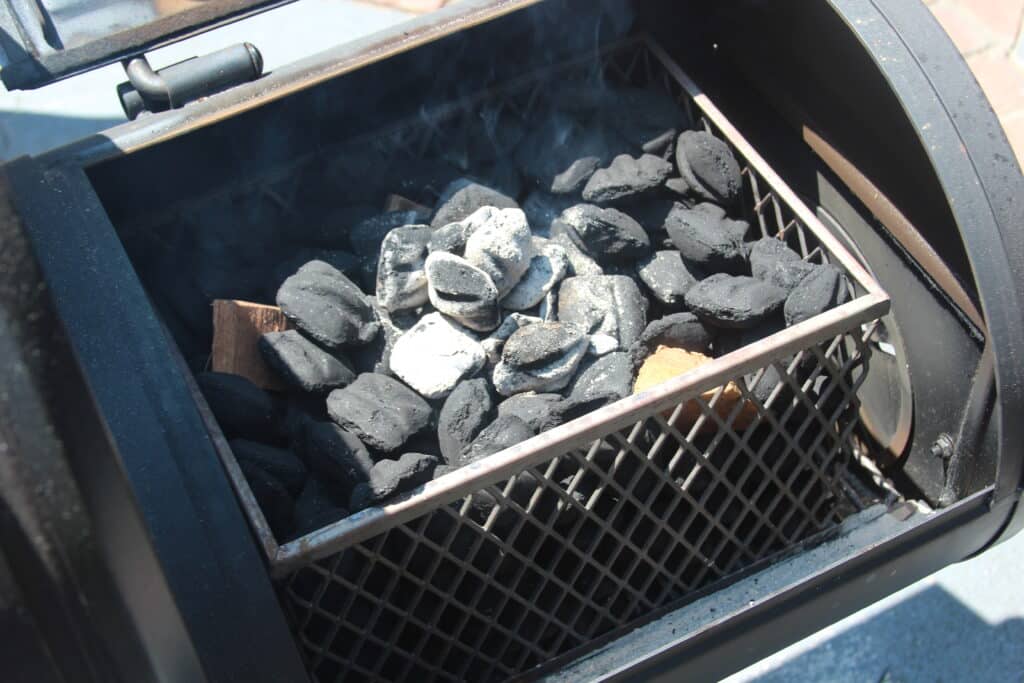
In addition to the quality of materials, the Grand Champ features two slide-out expanded metal cooking grates; a large front shelf that can collapse when not in use; two 10” metal wheels; an Easy Dump ash pan; dual dampers for dialing in your ideal cooking temperature (read more about how to use dampers/vents to control temperatures here); a spacious bottom shelf for storage; felt gasket seals on all lids and doors; a removable charcoal basket; and more. The large body rests on four sturdy legs, with the two on the firebox side featuring the large wheels. A heavy-duty handle is located just below the smokestack for moving the cooker.

Packaging and Assembly
When it comes to assembling the Grand Champ, my local big-box hardware store only had their floor model remaining so my only experience with putting one together comes from the instruction manual. And based on the manual (coupled with the memory of assembling my old C.O.S.), I would expect that you are looking at roughly an hour’s worth of piecing together the 35 key parts. And given the weight of the unit (it took four people to load the assembled unit into the bed of a pick-up truck), you will need a second person for certain parts of the assembly, especially when it comes to attaching the firebox to the main body.
Up your game: Join our Pitmaster Club. Try it out for free for 30 days. No credit card is needed. No spam. Join now and Be Amazing!
Capacity
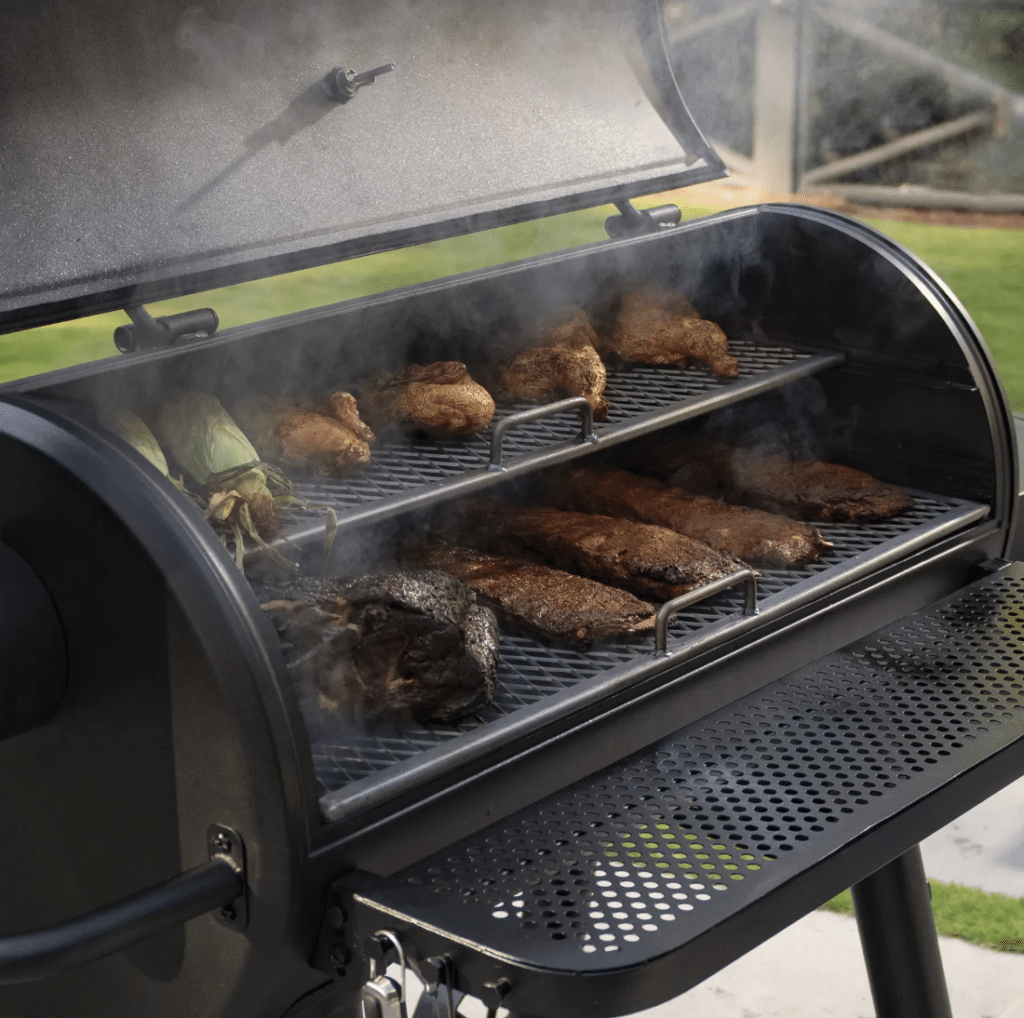
With 1,200 square inches of total cooking area and 775 square inches of primary cooking area, the Grand Champ is big enough for 11 racks of ribs, 10 chickens, 10 pork shoulders, or eight briskets.
Seasoning the Grill
Once assembled, the manual recommends seasoning the smoker/grill before its first use. This step helps protect the interior and exterior grill finish, reduce the likelihood of food sticking to the grate, and minimize the likelihood of the grates rusting. It also gets rid of any possible unnatural flavors from the new grates.
To season the cooker, Char-Griller recommends using a food-grade oil such as flaxseed, canola (my choice), vegetable, grapeseed, etc. As instructed, I coated all of the interior surfaces with the oil, including the grates and the interior of the main body/barrel. To light the grill, the manufacturer prefers the use of a charcoal chimney to light the charcoal.
Once ashed over, I dumped the charcoal onto the main charcoal grate in the grill body/barrel. The internal temperature of the grill is brought to roughly 450°F and maintained for 20 minutes to begin the seasoning process. The temperature can be controlled by opening and closing the side dampers and the damper on the top of the smokestack. After 20 minutes, the main cooking grates are carefully removed and another coating of oil is added on both sides of each grate. They are then allowed to season for another 20 minutes and the process is repeated up to five times. I did have to add another chimney full of briquets to the chamber in order to maintain the temperature for the entire 100-minute seasoning process.
More Seasoning Tips
The manual also mentions that you can coat the exterior of the grill body with oil while still warm in order to extend the life of the black high temp powder coat on the body and side firebox. Note that even if you do so, it is normal for the paint to burn off on the top of the side firebox and other high-heat spots. You can always touch them up with high-heat paint, though not doing so should not affect the durability and lifespan of the grill.
Want a new set of tools? Check out Meathead’s new book, The Meathead Method. It’s a toolbox that will elevate all your cooking. Alton Brown calls it “The only book on outdoor cookery you’ll ever need.”
Cooking
Once assembled and properly seasoned, it was time to get cooking!
Depending on the placement of the charcoal, whether in the main cooking chamber or the side firebox, the grill can be used for hot-and-fast grilling as well as low-and-slow smoking. For its inaugural outing, I set up the main chamber for two-zone cooking, placing the preheated briquets on one half of the charcoal grate and leaving the other half empty in order to create a hot and a cool zone. If you are a frequent reader of AmazingRibs.com, you will notice that so many of our recipes call for a 2-zone set-up as this allows you a lot of flexibility when it comes to temperature control during the cooking process.
Testing Process
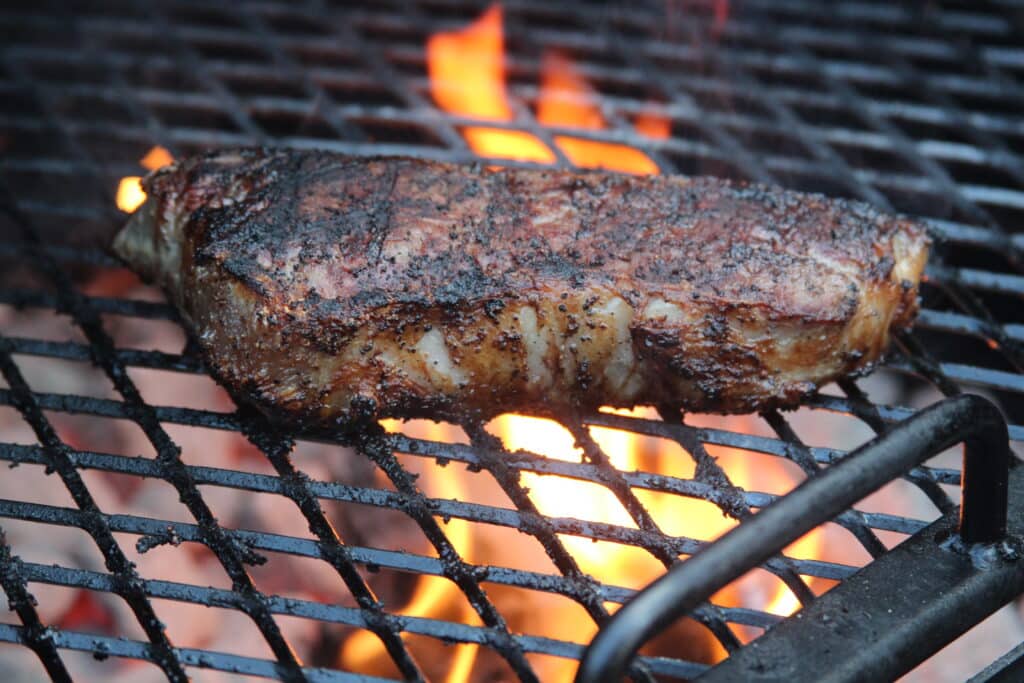
For this test, I took advantage of the two-zone setup to cook reverse-seared steaks. To do so, I seasoned the steaks and then set them on the cool side of the grill as far from the hot charcoal as possible. For added flavor, I added two fist-sized chunks of cherry wood to the burning charcoal. I then closed the lid of the main chamber and slowly brought the steaks towards the desired degree of doneness. I then finished them by searing them over the direct heat of the charcoal. The steaks came out perfectly but with any grill that is fueled by charcoal, the quality of the sear depends heavily on how well-heated the grill grate is and how close the hot briquets are to the grate. So be sure to really load up the pre-heated briquets beneath your sear zone.
Low-and-slow Cooking
I then tested the grill’s ability to cook low-and-slow, taking advantage of the side firebox. Since so many people prefer to use wood instead of charcoal in offset cookers, my initial trial was with splits of apple wood that were placed on top of a bed of pre-heated charcoal briquets.
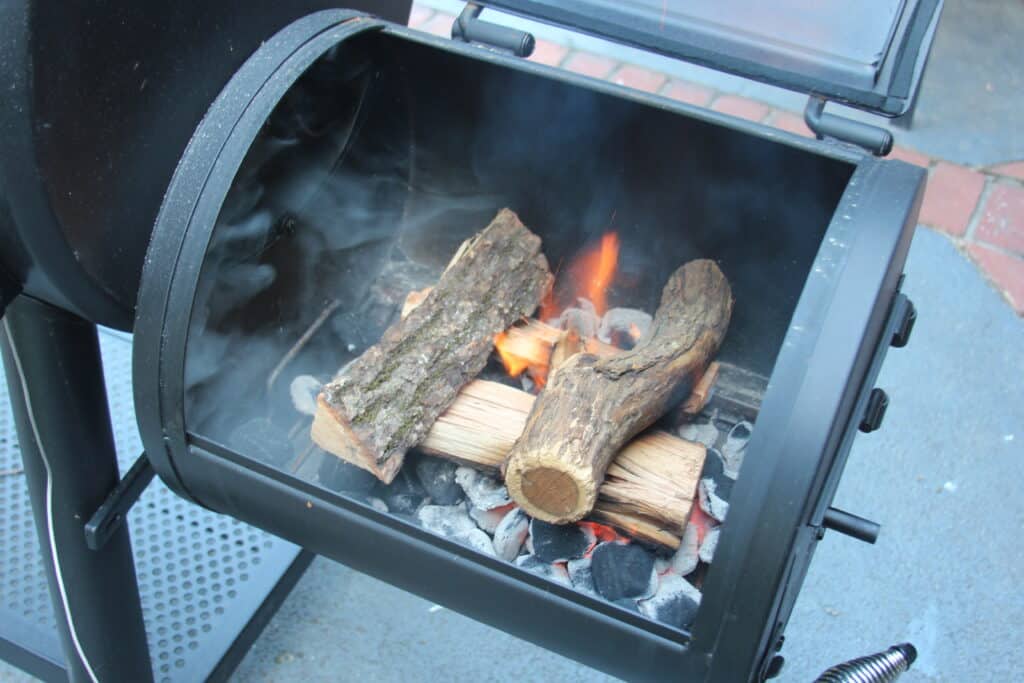
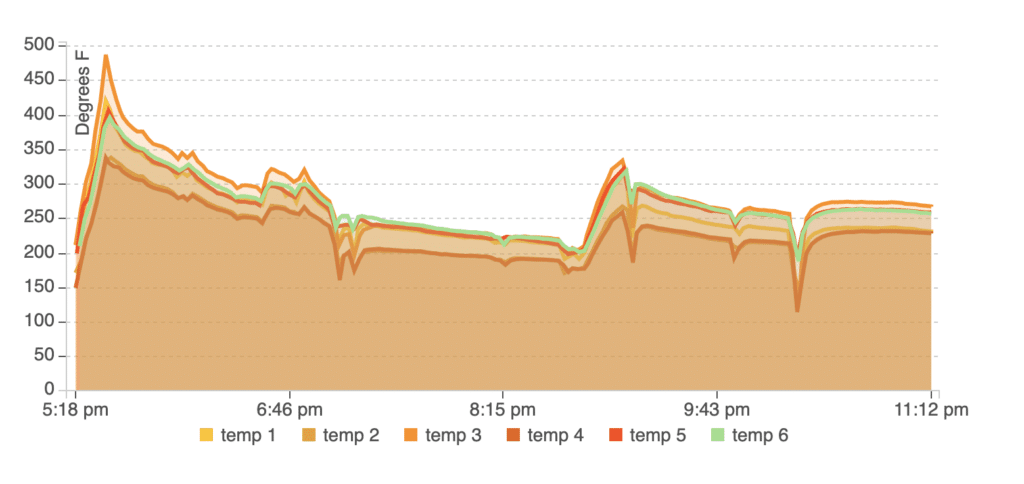
I left the side door and the lid of the side firebox open until the wood had begun to burn then once they were going well, I closed the lid and side door to begin lowering the internal temperature of the cooker. In order to get a feel for the temperature in the main cooking chamber, I positioned six probes from my Fireboard FBX 11 remote thermometer left, center, and right on the top and lower cooking grates which monitored the cooker’s internal temperature.
Once I positioned the probes, the dampers on the side of the firebox and on the smokestack only opened about 1/4 of the way to begin with. I had trouble getting the internal temperature of the main cooking body as low as I wanted after getting the fire going, but completely closing the damper on the side of the firebox helped some. I also found that the actual door on the side of the firebox wasn’t tightly sealed when locked with the latch, but slightly bending the latch in towards the firebox provided the perfect fix.
Temperature Accuracy
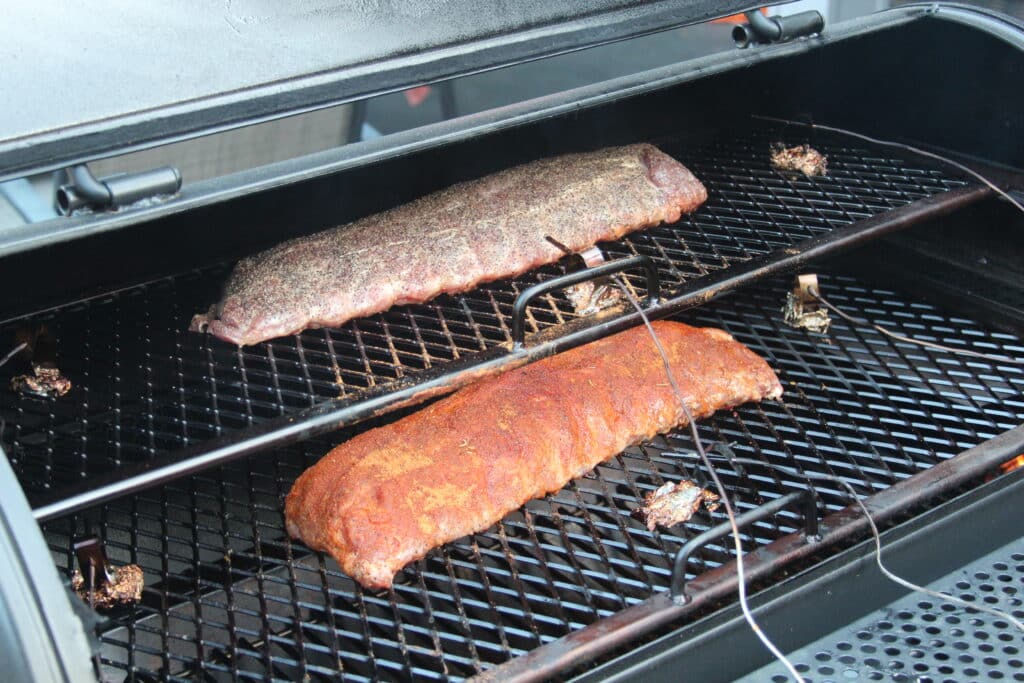
After approximately 30 minutes, the temperature within the main chamber began evening out in the 225-250°F range. The higher temps were seen closer to the firebox, though the heat differential was minimized thanks to a smoke/heat shield that is located above the opening between the firebox and the main cooking chamber. I then added a rack of baby back ribs to the top and bottom grates in the cooker’s main chamber. Adding and removing food is super simple thanks to the slide-out upper and lower cooking grates.
Hungry for more ribs recipes, tips, and techniques? Click here to download our ebook “Amazing Ribs Made Easy” $3.99 on Amazon (free Kindle app runs on all computers and devices). Or, get this book and others FREE as a member of the AmazingRibs.com Pitmaster Club. Click here to join.
Throughout the cooking process, the temperature continued to hover in the 225-250°F aside from a few peaks and valleys which coincided with me opening the lid on the firebox to check on fuel (I did not end up needing to add any more charcoal) and opening the lid of the main cooking chamber to check on the ribs. After about five hours, the ribs were moist and tender.
Our Recommendations for Grilling
The smoke flavor from the wood, however, was rather overpowering for the family, thus the reason Meathead recommends burning down the wood to embers outside of the cooker (he uses a wheelbarrow). By only adding the embers, the smoke flavor is far less pronounced. As Char-Griller considers this an entry-level offset cooker, though, I would recommend only using charcoal briquets with 3-4 fist-sized chunks of wood for flavor. Once you’ve mastered charcoal on the Grand Champ you could then move on to the tougher task of cooking with wood.
To get the maximum use of the charcoal and to minimize the temperature, I filled the charcoal basket that came with the unit with unlit briquets and the wood chunks, then added approximately 10 pre-heated briquets to the center of the basket of unlit briquets so that they would slowly ignite over time. This is referred to as the Minion method. After six hours, most of the charcoal had turned to ash so if you are cooking something larger like a brisket, be sure to monitor the cooker’s internal temperature with a remote temperature probe like the Fireboard FBX so you can add more charcoal as the temperature begins to dip.
Care and Maintenance
Once you finish cooking on the unit, the manufacturer recommends brushing the grates clean (I find doing so while the grates are still warm is most effective in removing cooked-on debris) and then re-seasoning with cooking oil to minimize rusting and extending the life of the expanded steel grates.
Next, close the dampers to begin cooling down the unit. When the fire dies and the cooker is cool, clean the ash out of the main cooking chamber (if using for direct heat cooking) by first removing the cooking grates with the included grate lifter and then removing and emptying the ash from the ash pan into a metal container and dousing with water to ensure remaining coals cool fully. If you are cooking with indirect heat from the side firebox, simply remove the cooled firebox ashpan and empty it into a metal container then add water.
You can purchase a custom-fit grill cover separately to help further extend the life of the cooker when not in use.
*Note on the Char-Griller Grand Champ*
March 7, 2024. We originally awarded this smoker our top Platinum Medal for offering relatively high quality and performance for a modest price. Not cheap as the lightweight COS tin can offset smokers we advise against buying, but nowhere near the price of competition grade, quarter-inch steel offsets, Champ is, or maybe was, a viable entry level stick burner. Sadly, something is changing at Char-Griller. Champ has been out of stock for a long time, and our contacts stopped responding to calls and emails. Customer complaints about defective products and poor to non-existent customer service are mounting. So we’re downgrading our rating. If Char-Griller can get back on course and Champ becomes readily available again, we will restore its Platinum status. Our initial conclusion is below.
Conclusion
While the Char-Griller Grand Champ Offset Smoker is over 2x the cost of the entry-level Smokin’ Pro, it addresses many of the issues we had when we gave the latter model a “not recommended” rating. Most notable was the overall construction of the cooker, with the 12-gauge steel being a significant upgrade to the much lighter and less durable Smokin’ Pro. The thicker steel also helped with another issue that plagues their entry-level model – the ability to retain heat over long periods of time without having to constantly add more fuel.
Other highlights include two spacious slide-out grates which provide more than enough room for cooking enough food for a large crowd, plus the flexibility of being able to cook with direct or 2-zone heat in the main chamber or indirect heat when using the side firebox. Overall, this upgraded entry-level offset is perfect for anyone who is willing to spend a little more for more durable, longer-lasting construction but isn’t necessarily ready to spend thousands of dollars on a high-end offset smoker/stickburner such as a Jambo. As such, we award the Char-Griller Grand Champ Offset Smoker our AmazingRibs.com Best Value Platinum Medal.
Warranty
Char-Griller provides a five-year burn and rust-through warranty on the hood and bottom. They cover the ash pan and defective parts for one year. They will also cover parts, accessories, and grill covers for a period of one year. Not included are such issues as scratches, dents, corrosion, discoloration due to heat, and surface rust.
We thank Char-Griller for providing a Char-Griller Grand Champ Offset Smoker for our tests.
Click the buttons below to search our complete database of reviews:
Product Information:
-
Model:Grand Champ Offset Smoker
-
Item Price :729.00
*Price Subject To Change -
Where to buy (buying from this supplier supports this website):
-
Review Method:Cooked On It
We have hands-on experience testing this product. We have also gathered info from the manufacturer, owners and other reliable sources. -
Primary Function:Smoker
-
Fuel:Charcoal, Logs
-
Primary Capacity:Large (about 38 burgers) : 780 square inches
-
Secondary Capacity:420 square inches
Manufacturer:
-
Char-Griller
Char-Griller makes some of the cheapest cookers on the planet. Many of their models are round, horizontal charcoal grills and smokers. Budget conscious buyers often can’t pass up the Char-Griller price tag and many models are very popular. Unfortunately, novice cooks aspiring to slow smoke with wood are drawn to Char-Griller’s super cheap offset smokers. Offsets are already difficult to work with and Char-Griller’s tin can, drafty construction has been a source of consternation for generations of first time smokers. But in recent years they introduced an intermediate level offset smoker called Grand Champ which costs more than their cheapo offsets but is a viable starter smoker for aspiring stick burners. We also like their Grillin’ Pro gas grill and Akorn kamados which offer a lot of bang for very low bucks. Char-Griller is becoming a brand to watch.
Related reviews
- Lang 36″ Original Patio Model Review
- Char-Griller Grillin’ Pro Gas Grill Review
- Char-Griller Smokin’ Pro Review
- Char-Griller Pellet Smoker Review
-
Clint Cantwell, AmazingRibs.com President And BBQ Personality - Clint Cantwell is AmazingRibs.com's President, a championship competition BBQ cook, and outdoor cooking personality.

High quality websites are expensive to run. If you help us, we’ll pay you back bigtime with an ad-free experience and a lot of freebies!
Millions come to AmazingRibs.com every month for high quality tested recipes, tips on technique, science, mythbusting, product reviews, and inspiration. But it is expensive to run a website with more than 2,000 pages and we don’t have a big corporate partner to subsidize us.
Our most important source of sustenance is people who join our Pitmaster Club. But please don’t think of it as a donation. Members get MANY great benefits. We block all third-party ads, we give members free ebooks, magazines, interviews, webinars, more recipes, a monthly sweepstakes with prizes worth up to $2,000, discounts on products, and best of all a community of like-minded cooks free of flame wars. Click below to see all the benefits, take a free 30 day trial, and help keep this site alive.
Post comments and questions below
1) Please try the search box at the top of every page before you ask for help.
2) Try to post your question to the appropriate page.
3) Tell us everything we need to know to help such as the type of cooker and thermometer. Dial thermometers are often off by as much as 50°F so if you are not using a good digital thermometer we probably can’t help you with time and temp questions. Please read this article about thermometers.
4) If you are a member of the Pitmaster Club, your comments login is probably different.
5) Posts with links in them may not appear immediately.
Moderators