


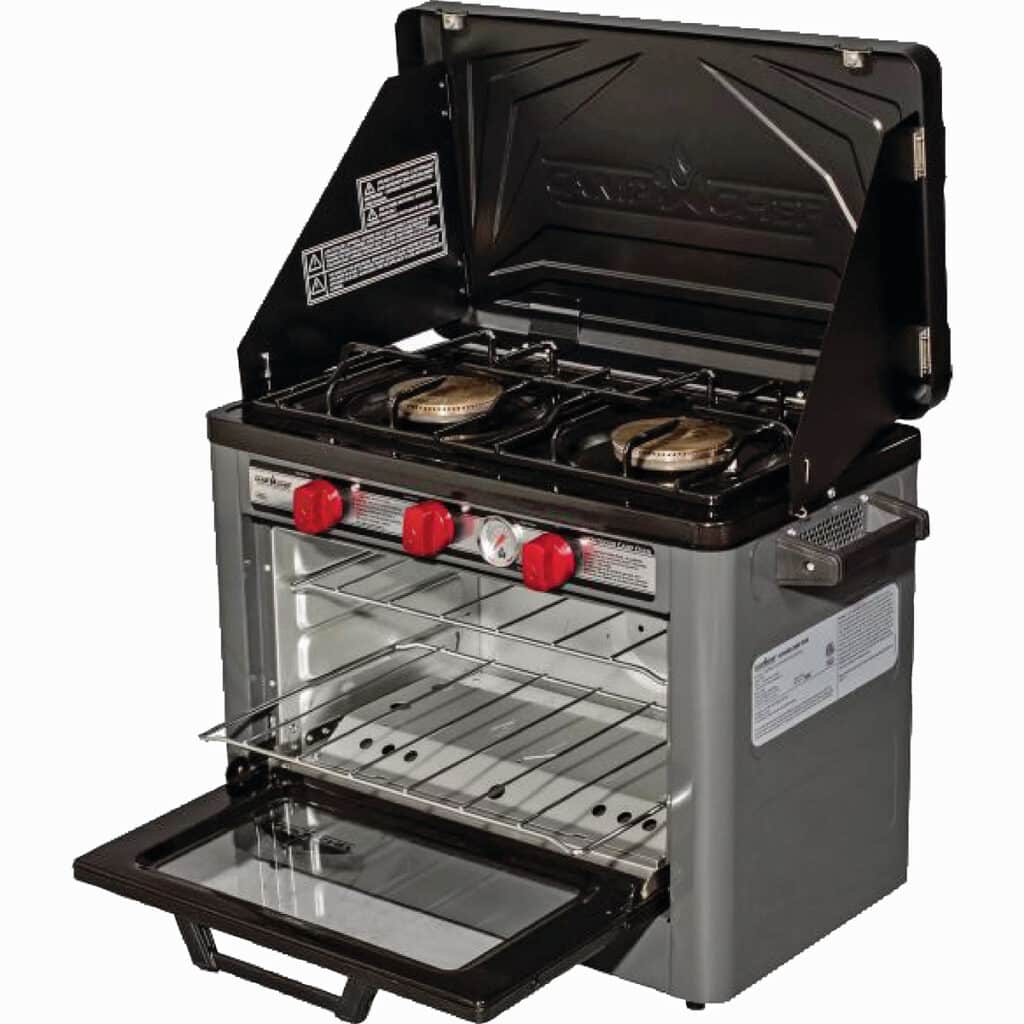
The Camp Chef Deluxe Outdoor Oven is a propane-fueled, dual-purpose oven and stove combo for camping or backyard cooking. It runs off a one-pound LP gas canister and Camp Chef offers an optional regulator for use with a larger 15-pound LP tank. For my tests, I used the small one-pound canisters that are common in camping situations.
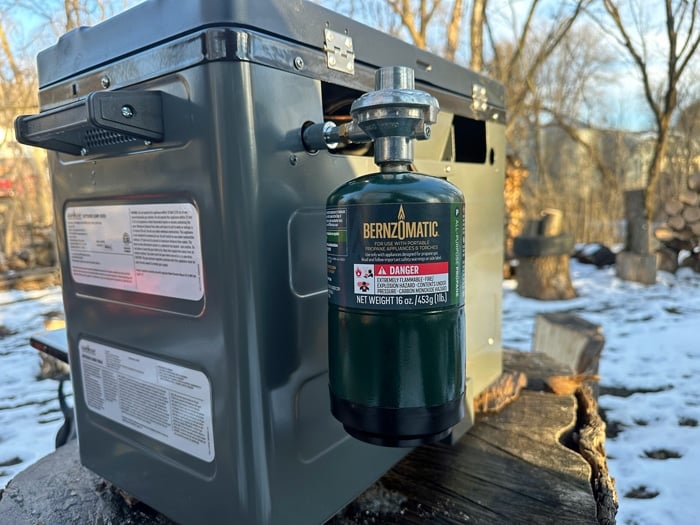
Click here to save money by filling your own one pounders.
The oven outer dimensions are 15″D x 25″W x 18″H and it weighs 40 pounds. The lower portion of the unit houses the oven with internal dimensions of 11″D x 16″W x 9″H. The oven’s single 3,000 BTU burner produces a max temp of 400°F. On top is a two-burner stove with windbreaks at the back and on both sides. These windbreaks fold out from the lid and repack nicely when you are finished cooking. Each of the two stove burners is 9,000 BTU and the cook surface is 9.5″D x 17″W.
Like what you’re reading? Click here to get Smoke Signals, our free monthly email that tells you about new articles, recipes, product reviews, science, myth-busting, and more. Be Amazing!
Stove set up and lighting
Set the unit on a dry, level surface. Although this is not always possible while camping, it is something to aim for when setting up. Attach your LP tank. Pop open the lid which serves as your rear windbreak when the stove is in use, and then attach the two side windscreens.
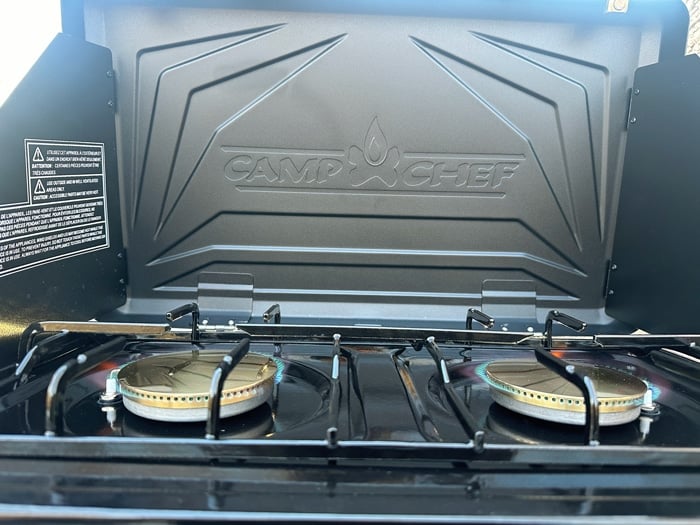
Ensure the pot grate over the burners is firmly in place and is ready for cooking. Camp Chef provides holes in the stovetop for the grate to lock in so it does not move while cooking. Light the stove before putting on any pots or pans to allow the burners to have a free flow of gas. Slowly turn the burner to the “high” setting and it will fire up via a built-in piezoelectric igniter. I was able to light both burners on the first turn, right out of the box.

Cooking on the Stove
For my stovetop cooking session, I chose to make a camping classic — bacon, eggs, and hash browns. I then took all these ingredients and made tacos. As an added bonus, I was able to warm the tortillas in the oven and melt cheese right onto them before loading them with bacon, eggs, and hashbrowns. For this stovetop cook, I used a 6” and 10.5” Finex cast iron skillet. Both of these fit well onto the cooktop.
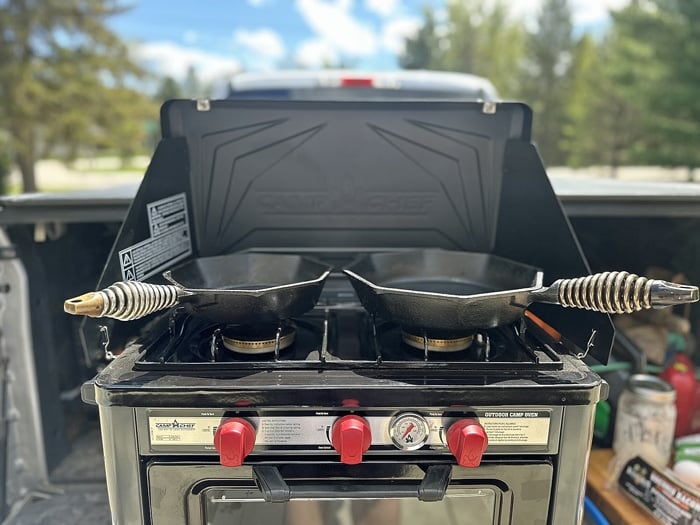
The skillets heated up quickly. I was cooking in under 10 minutes, which was impressive. Space was a little limited but that is nothing new in the camping world. We are not trying to make 7-course meals while camping so the cooking space was more than adequate. The burners had plenty of power and the food cooked up well.
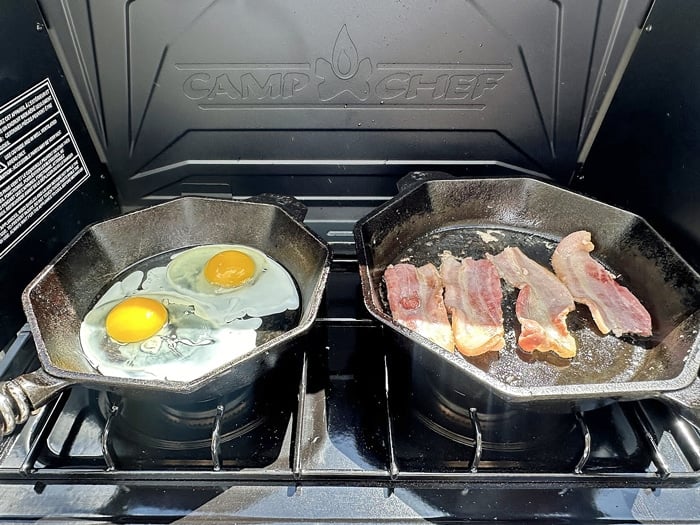
One issue I did have was the skillets sliding around on the cooktop. The skillets felt a little slippery on the brand-new porcelain-coated pot grate. This might change as time goes on and the grate surface becomes a little rougher. Until then, it is a good idea to make sure you have a firm grip on the skillet handle when moving the food. All in all, I was very impressed with the stoves’ ability to bring these heavy skillets up to temp quickly. The windbreakers conserved the heat and kept the burners from blowing out when the wind kicked up.
Cooking with the Oven
Up your game: Join our Pitmaster Club. Try it out for free for 30 days. No credit card is needed. No spam. Join now and Be Amazing!
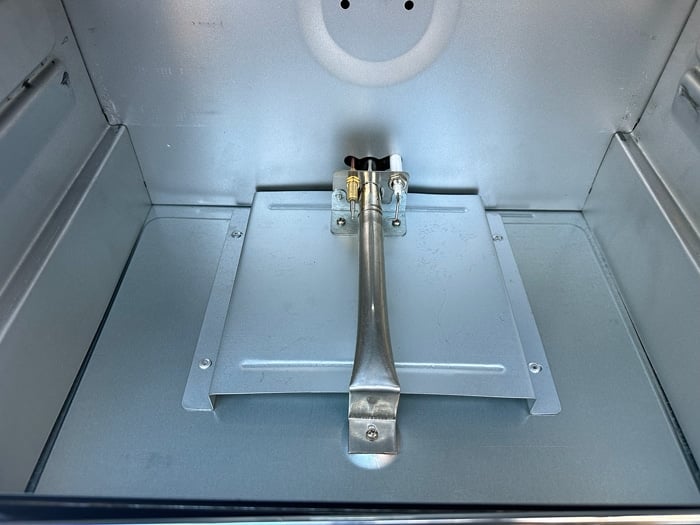
First, I opened the glass door to make sure no gas was trapped in the oven before lighting, then turned the oven knob to “high” and heard the igniter click. Unlike the stovetop ignition, the oven burner did not light up right away. However, this may have been because the oven was sitting outside in cool weather for a while before I lit the fire. It fired up easily on the second try and on subsequent occasions. The oven burner is visible from the outside of the oven, once you close the door. This is also handy while cooking so you know the burner is still lit.
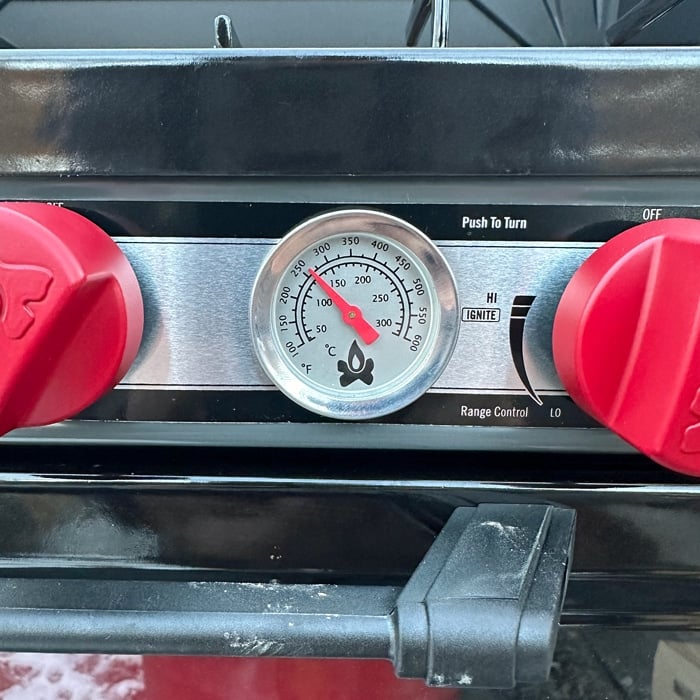
The unit is equipped with a cheap, analog dial thermometer, which I found to be inaccurate. This is the case with most analog thermometers. Click here to learn why an accurate digital thermometer is the most important tool in your BBQ Toolbox.
Butter Chicken Cook Test
Want a new set of tools? Check out Meathead’s new book, The Meathead Method. It’s a toolbox that will elevate all your cooking. Alton Brown calls it “The only book on outdoor cookery you’ll ever need.”
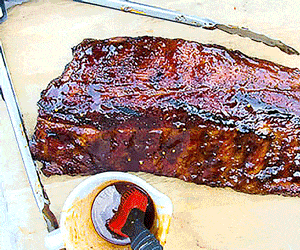
For my oven cook, I chose to make my braised Indian Butter Chicken. I turned the oven on and let it preheat for about 10 minutes, then added the ingredients to my Dutch oven. I was able to fit my 6-quart Dutch oven into the Camp Chef oven except for the lid. So I used aluminum foil for a lid. On two subsequent cooks, I was able to fit a 4-quart Dutch oven with the lid and a 10.5″ Lodge cast iron pan.
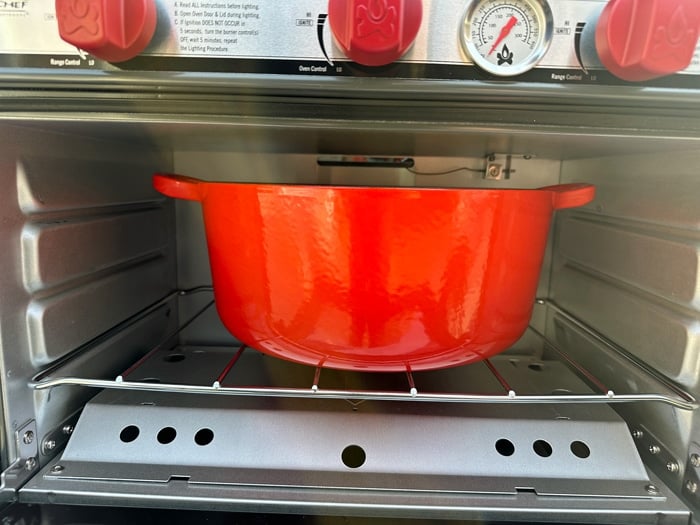
The oven braised all my ingredients very well. It had more than enough power to cook my meal, even though the Dutch oven took up most of the interior space in the oven. After about 3 hours of cooking at 325°F, dinner was served. Even with winds gusting, I never had a flame out and the internal temperature stayed level throughout the whole cook. It was a quick and easy cooking experience. The oven took about 10 minutes to cool all the way down to where I felt like I could move it back into storage, although I waited 30 minutes to be safe. I was happy with Camp Chef’s performance and would recommend it to anyone who is looking for an effective, easy-to-use, combo stove/oven for camping.
Packing Away
The Camp Chef Deluxe Outdoor Oven was easy to store. The square shape makes it very packable and at 40 pounds, it is manageable for most people to move in and out of their camper or RV. The one drawback here is space. Most RVs and campers have the space to accommodate Camp Chef Deluxe, but with some smaller camping trailers or popups, you might run into storage space issues.
Packaging and Assembly
Camp Chef’s packaging was compact and effective. My oven arrived without a dent or scratch. Assembly was quick. Instructions were easy to follow and the parts were clearly labeled.
Conclusion
I really enjoyed cooking with the Camp Chef Deluxe Outdoor Oven. The setup is simple, the unit is easy to light, and it is intuitive to use. The stove top and oven space are adequate for most camp cooking. The unit is a bit bulky, but for those who have a camper, RV, or similar setup, this is a great option. Having an oven at the campsite is a unique and fun experience. For all of these reasons, I give this Camp Chef model the AmazingRibs.com Best Value Gold Medal.
Warranty
Camp Chef warrants stove components (except paint and finish) to be free from defects in materials and workmanship for one year from the date of purchase.
We thank Camp Chef for providing a Camp Chef Outdoor Oven for our tests.


Before you can post a comment or question you must sign into our commenting partner, Disqus. This helps make sure everyone hanging around the grill is civil. We do not tolerate nastiness, racism, porn, inappropriate language, or attacks on others. All comments are the property of AmazingRibs.com and we reserve the right to quote them, edit them, delete them, and block people from making future comments.
Please leave comments and questions on the same page that is devoted to that subject so others can see questions and our answers when they are reading about the subject. You must enable JavaScript to use the comments section, and you must accept cookies to post comments. Note: the software that runs Disqus is different from the Pitmaster Club, so members need to sign into the Pitmaster Club separately.