


Here’s the best of the ‘wurst is reimagined as a rich cheddar cheese brat burger recipe.
Even though I am a Texan by birth, I spent enough of my childhood in Wisconsin to pass as a native cheesehead. On our annual visits to America’s Dairyland, I spent quality time with my dad’s side of the family and spent even more time overindulging in two of my favorite local foods: grilled bratwurst and cheese.
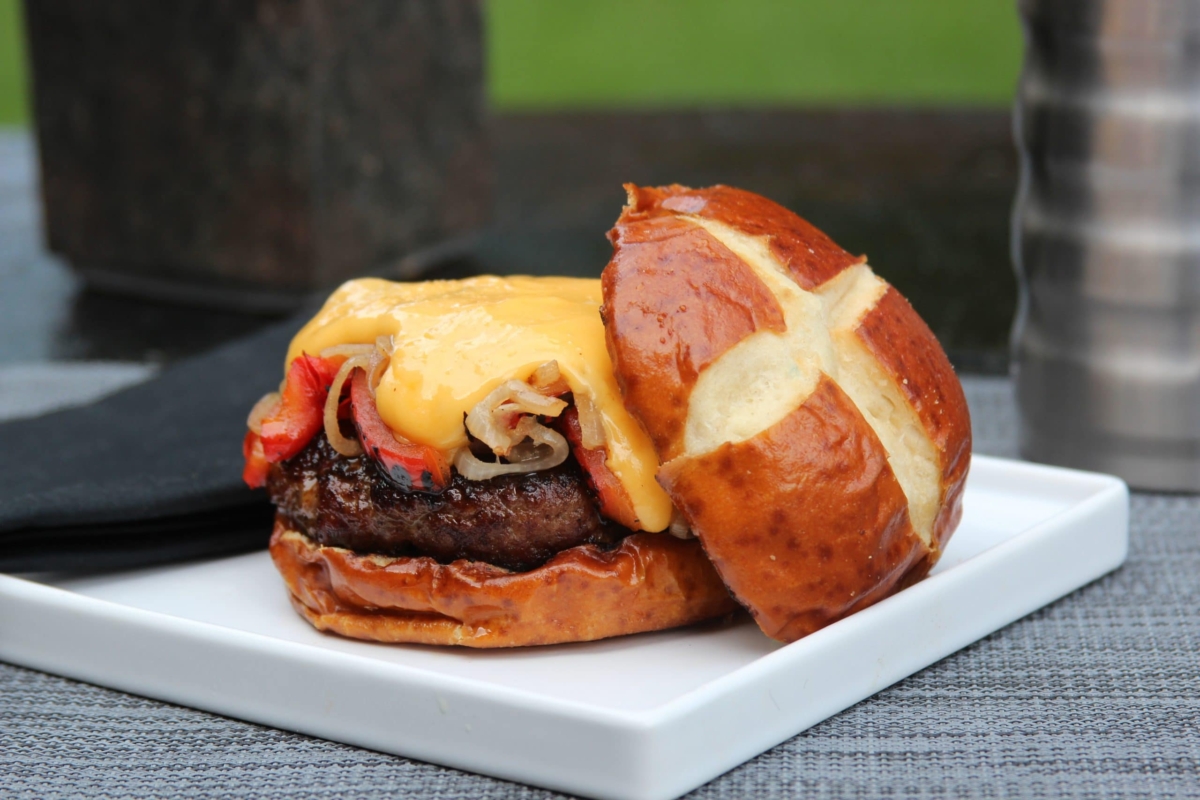
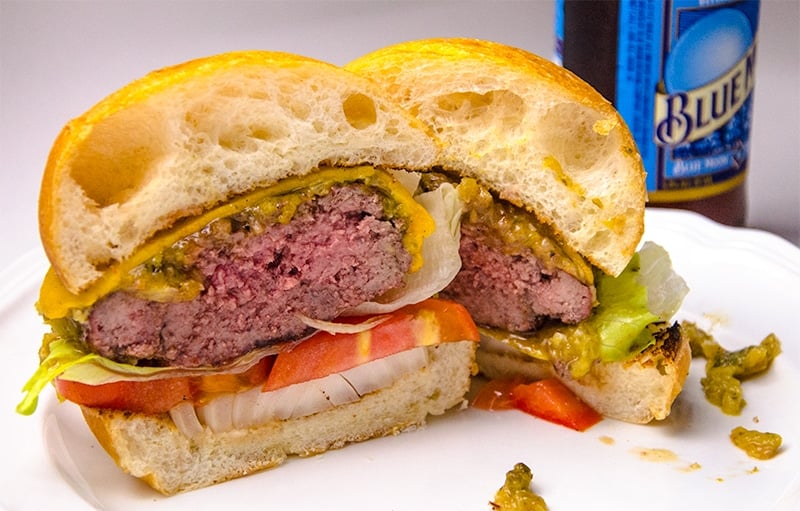
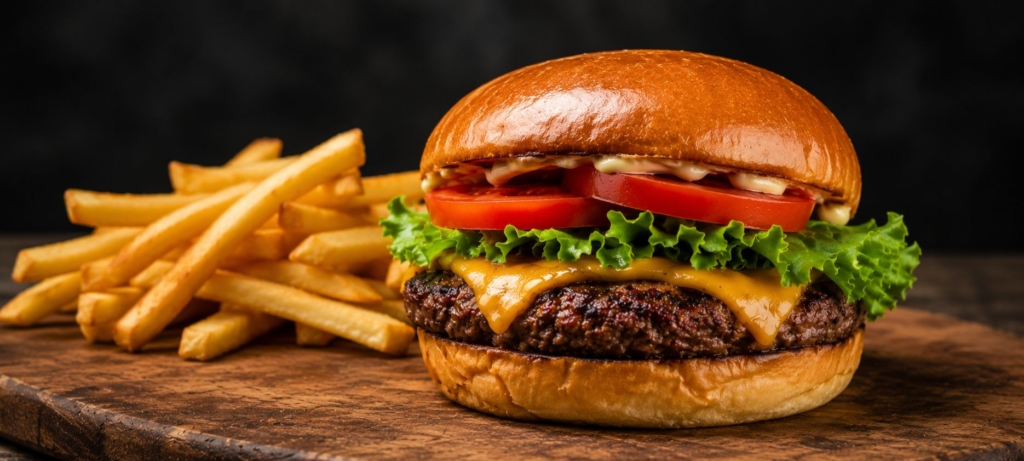
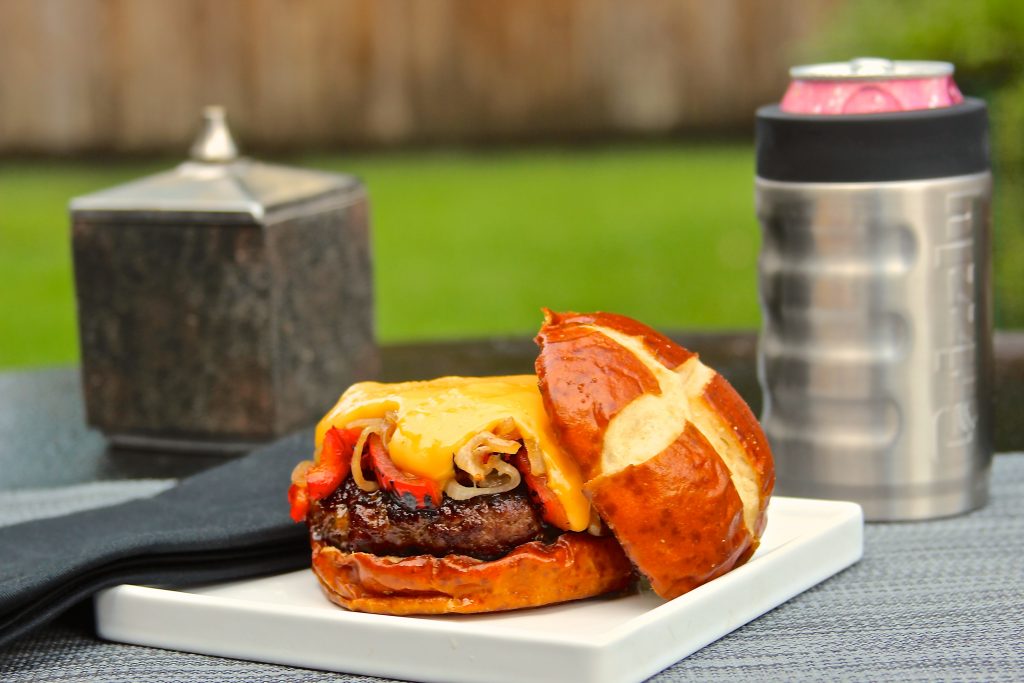
While I don’t make it back to Wisconsin nearly as often as I used to, my love affair with brats and cheese remains as strong as ever. To celebrate those childhood favorites, my latest entry in our ongoing burger of the month series features a grilled brat patty topped with grilled peppers and onions, smothered in a rich beer and cheddar sauce, and nestled in a fresh pretzel bun.
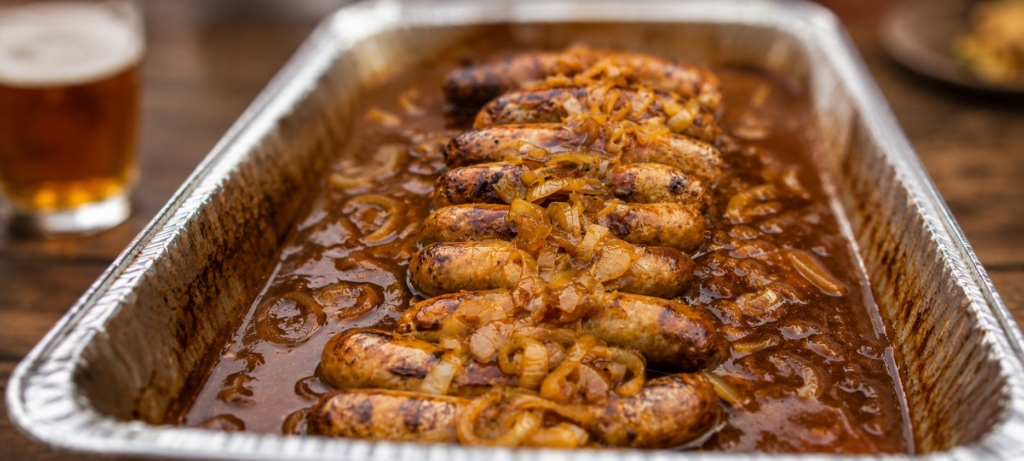
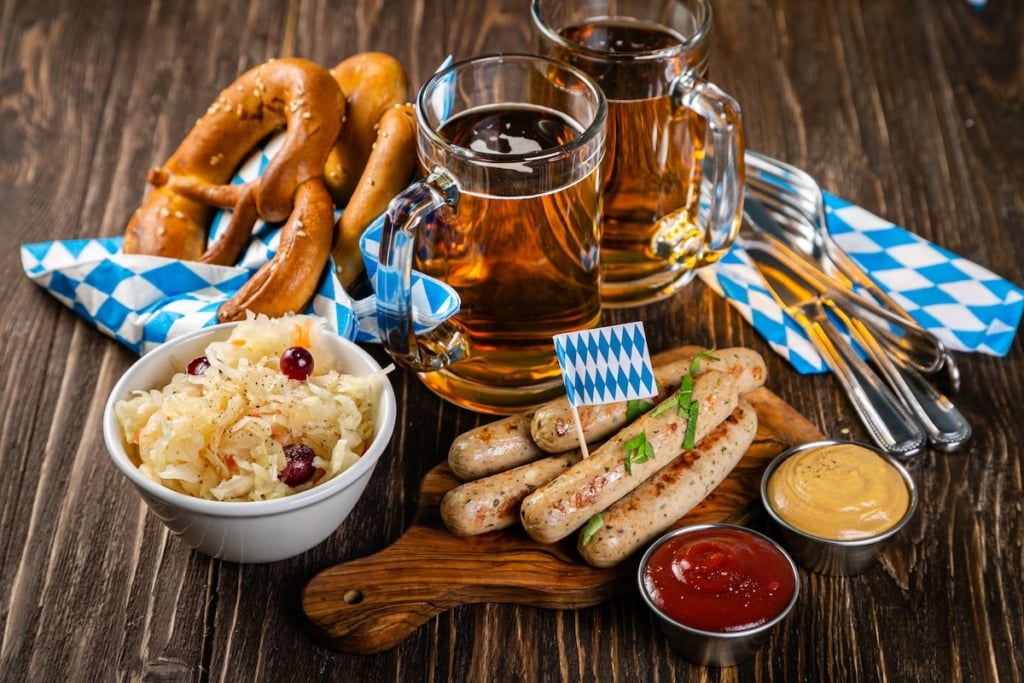
While this recipe calls for using store bought brats, you can really take it over the top using our recipe for homemade brats found here! Cheers!

Brat Burger with Beer Cheese Sauce Recipe
Ingredients
Method
- Prep. Remove the stem and core from the red bell peppers. Cut into small strips.
- Thinly slice the onion.
- Use a small paring knife to cut through the bratwurst casings. Remove the meat from the casings and divide the meat into four equal portions. Form the meat into patties that are approximately 1/4 inch (6.4 mm) wider than the buns to allow for shrinkage during the cooking process.
- Fire up. Prepare a grill for indirect cooking by placing a chimney full of pre-heated charcoal briquets on one side of the grill’s charcoal grate in order to create direct and indirect cooking zones. Adjust the grill vents to bring the temperature to about 400°F (204.4°C) on the indirect side. On a gas grill, adjust the temperature knobs so that one half of the grill is off and the other half is heated enough to maintain a temperature of approximately 400°F (204.4°C) on the indirect side.
- Add a vegetable grilling basket to the hot side of the grill and allow it to preheat for approximately 5 minutes.
- Cook. Place the sliced red bell pepper and onion in the vegetable grilling basket and allow them to cook while turning frequently until they are just beginning to soften and are lightly browned, approximately 5 minutes. Remove the peppers and onions from the grill and set aside.
- To prepare the beer cheese sauce, combine the butter and flour in a small saucepan and whisk over medium heat to create a smooth paste (a.k.a. a roux). Remove the saucepan from the heat and slowly add the milk while constantly stirring. Once the roux is fully incorporated into the milk, return the saucepan to the heat and add the beer.
- Allow the mixture to simmer, stirring periodically, until it begins to thicken, approximately 2 to 3 minutes. As the liquid simmers, toss the cheddar cheese with the cornstarch until the cheese is fully coated. Add the cheese to the liquid mixture, constantly stirring until the cheese has completely melted and the sauce is smooth, about 2 minutes. Add the mustard and Worcestershire sauce, stir, and season to taste with salt and pepper. Cover the saucepan and reduce the heat to low to keep the sauce warm while you grill the brat patties.
- Place the bratwurst patties on the indirect side of the grill, positioning the vent directly above the burgers in order to force the smoke over and around the meat. Cook the patties for about 5 minutes.
- Push the tip of a rapid-read thermometer such as the Thermapen into the side of both burgers. When the temperature reaches 105°F (40.6°C), flip the burgers and cook for approximately 5 more minutes until they reach 140°F (60°C). Because they are not over direct heat, you do not need to flip them often.
- Move the brat patties to the direct heat side of the grill to brown them. Leave the lid up so the heat is concentrated on one side of each burger. If the fire flares up, move the burger to another spot. Flip the meat every minute to form a nice crust on both sides.
- Remove the brat patties from the grill once they reach an internal temperature of 160°F (71.1°C).
- Serve. Assemble the burgers by placing a brat patty on each bottom bun. Add grilled bell pepper and onion slices to each patty. Spoon the cheese sauce over the peppers and onions then add the top bun. Serve immediately.
Before you can post a comment or question you must sign into our commenting partner, Disqus. This helps make sure everyone hanging around the grill is civil. We do not tolerate nastiness, racism, porn, inappropriate language, or attacks on others. All comments are the property of AmazingRibs.com and we reserve the right to quote them, edit them, delete them, and block people from making future comments.
Please leave comments and questions on the same page that is devoted to that subject so others can see questions and our answers when they are reading about the subject. You must enable JavaScript to use the comments section, and you must accept cookies to post comments. Note: the software that runs Disqus is different from the Pitmaster Club, so members need to sign into the Pitmaster Club separately.