


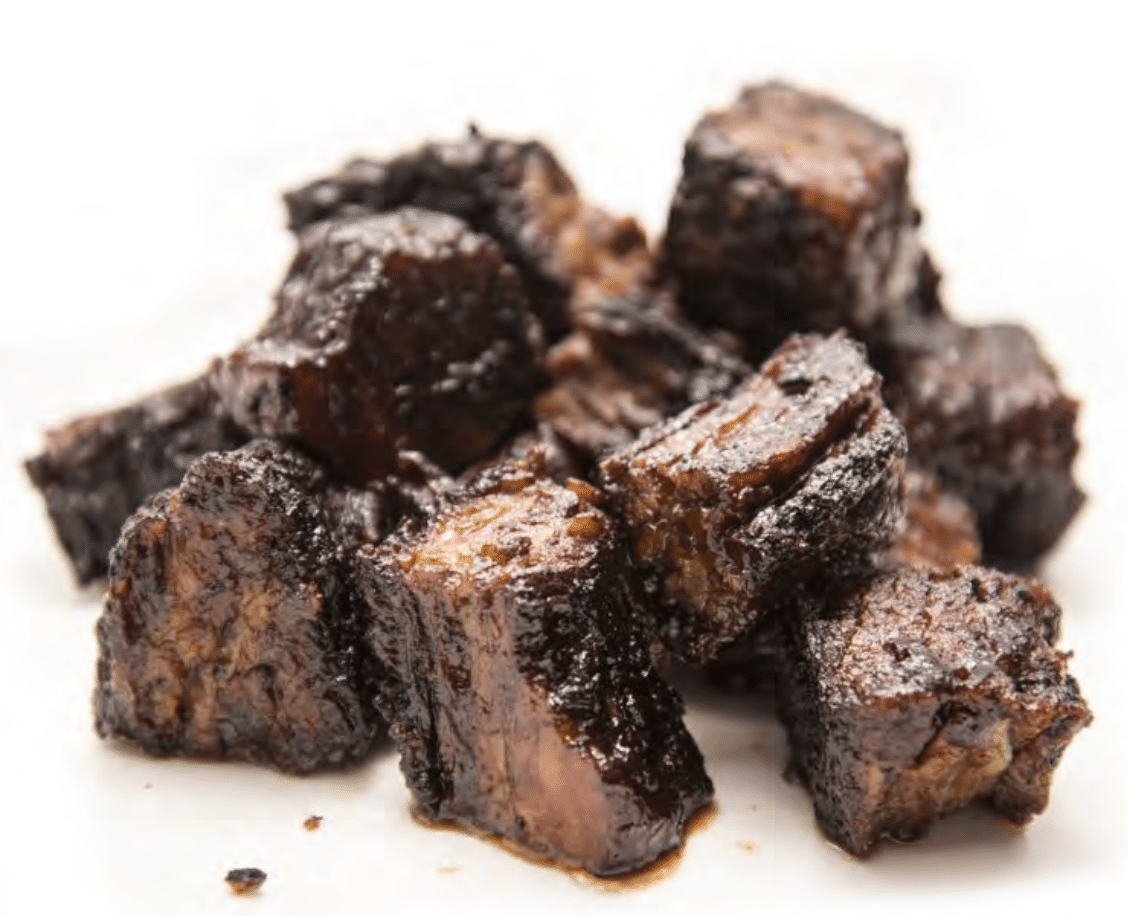
These bite-sized morsels don’t last long so cook up plenty when making our brisket burnt ends recipe!
Our brisket burnt ends recipe creates amazingly flavorful bite-size crispy cubes of meat. Originally they were simply edges and ends that were overcooked and trimmed and munched by the kitchen staff. If there were any left over, they were given away for free.
Then, in 1970, in his marvelous book “American Fried,” Calvin Trillin wrote the following about Arthur Bryant’s restaurant in Kansas City: “The main course at Bryant’s, as far as I’m concerned, is something that is given away for free — the burned edges of the brisket. The counterman just pushes them over to the side as he slices the beef, and anyone who wants them helps himself.
“I dream of those burned edges. Sometimes, when I’m in some awful overpriced restaurant in some strange town — all of my restaurant-finding techniques having failed, so that I’m left to choke down something that costs seven dollars and tastes like a medium-rare sponge — a blank look comes over my face: I have just realized that at that very moment someone in Kansas City is being given those burned edges free.”
The key to our perfect brisket burnt ends recipe
Nowadays burnt ends are usually made from the point muscle, or deckle, of the brisket. If you are friendly with your butcher, he or she can likely sell you the point on its own if you call well in advance. Otherwise, you can purchase a full packer brisket (flat and point) and either separate the two muscles before smoking or you can cook it whole using our brisket recipe here. When it comes time to wrap the brisket in the Texas Crutch, separate the two muscles and continue with the burnt ends recipe below.
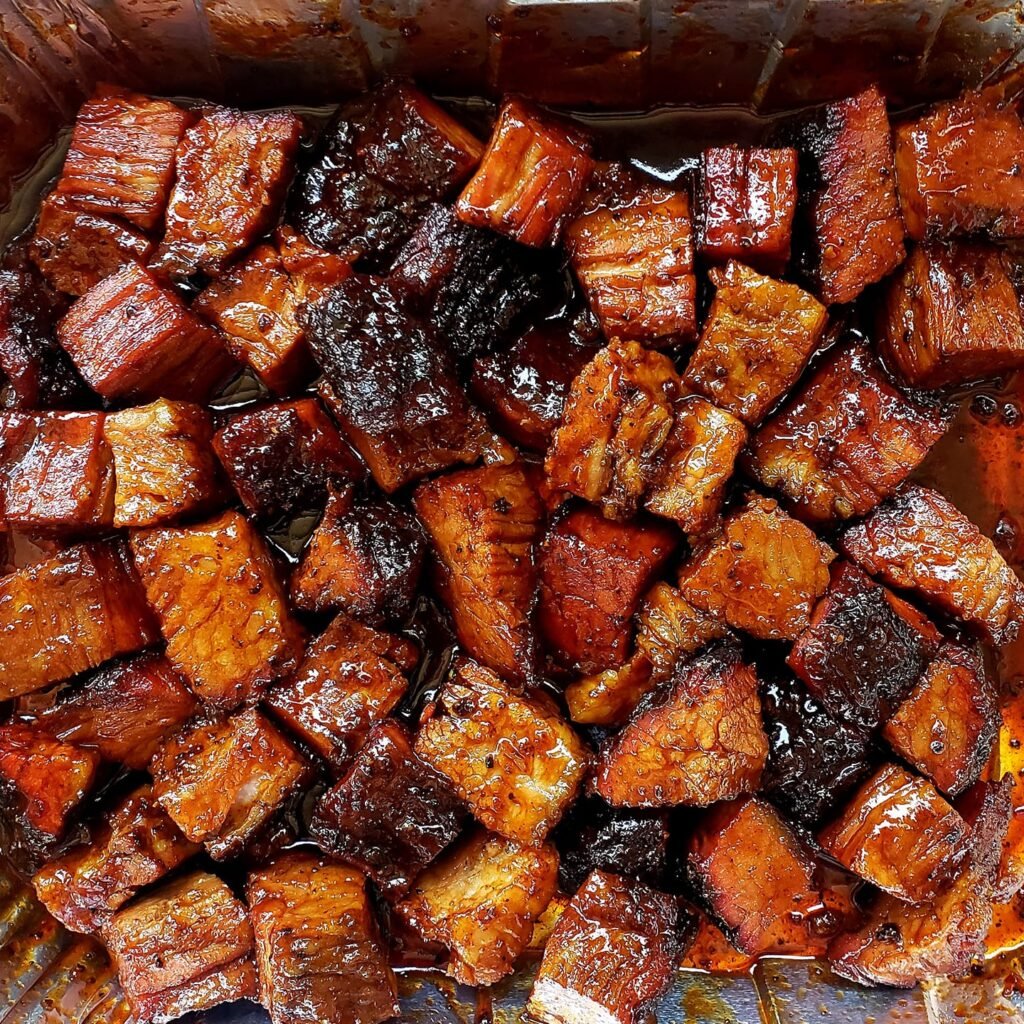
When done right, smoked brisket burnt ends are the perfect bite. Find out how to make your own with this tested recipe featuring the point muscle of the brisket.

Brisket Burnt Ends Recipe
Special Tools
Ingredients
Method
- Prep. Trim any excess fat off of the brisket point. Refrigerate the trimmings to use when finishing the burnt ends.
- Salt the meat about 12 to 24 hours in advance so it can work its way in, 2 to 4 hours minimum. After salting, sprinkle the Big Bad Beef Rub liberally on all areas of the meat and rub it in, setting aside any remaining rub to use once the meat has been smoked cubed. Keep the meat chilled until just before you cook it. Chilled meat attracts more smoke. I strongly recommend you use a remote digital thermometer and insert the probe with the tip centered in the thickest part of the meat furthest from the heat.
- Fire up. Pre-heat your smoker, or if you are using a grill, set it up for indirect cooking. Click here to see how to set up a gas grill, here to set up a charcoal grill, or here to set up a bullet smoker like the Weber Smokey Mountain. Get the cooker temp stabilized at about 235°F (113°C). We want to cook at about 225°F (107°C), but the temp will drop a bit once you open the lid and load in the cold meat.
- Cook. Put the meat on the cooker. On a smoker with a water pan, put the meat right above the water. Place the oven temp probe on the grate next to the meat. Add about 2 cups (4 ounces (113 g)) of wood right after the meat goes on. When the smoke stops, add 4 ounces more during the first 2 hours, which usually means adding some every 30 minutes or so. Keep an eye on the water in the pan. Don't let it dry out. After 3 hours, turn the meat over if the color is different from top to bottom. Otherwise, leave the meat alone. No need to mop, baste, or spritz. It just lowers the temp of the meat and softens the bark.
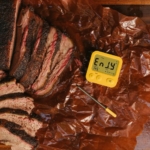
- When the meat's internal temperature reaches 155°F (68.3°C) and has taken on a nice dark hue, take the meat off of the smoker or grill and wrap it tightly in a double layer of heavy-duty foil. Add the beef broth, crimp the foil tight, and put the wrapped meat back on the smoker or grill over indirect heat. This step, called the Texas Crutch, slightly braises and steams the meat, but most importantly, it prevents the surface evaporation that cools down the meat and causes the stall (read more about the stall here).
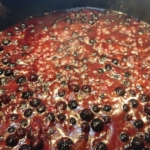
- Prep again. When the meat temp hits 195°F (95°C), carefully remove it from the foil, reserving the liquid to use later. Cut the point into cubes about 1-inch on all sides. Set aside any pieces that are too fatty or just eat them. Dust them with rub and a little sugar to accelerate browning and bark formation. Tumble them onto a grill topper on a hot grill over direct heat for a few minutes to caramelize the sugars and brown the cut edges.
- Cook again. In a frying pan, render the beef fat that you trimmed from the brisket point. Or better still, use bacon fat or duck fat. You can do this over hot coals. Move the cubes to the pan and gently fry them until they are crunchy on the outside, turning them a few times. Drain the fat and add about 1/4 cup of your favorite BBQ sauce and 1/4 cup of the drippings from the foil used for the Texas Crutch. Put the pan back on the grill and stir every 5 minutes or so. Let the cubes absorb most of the liquid and start to sizzle, but don't let them burn.
- Serve. When they're done, serve them before they go soft. You can just present them in a pile on a plate, or on a bun. I like to make a banh mi type sandwich with quick pickled onions on a garlic bread baguette sandwich.
 Sign up for a free trial of the AmazingRibs.com Pitmaster Club and experience everything that the world's largest membership-based BBQ and grilling community has to offer!
Before you can post a comment or question you must sign into our commenting partner, Disqus. This helps make sure everyone hanging around the grill is civil. We do not tolerate nastiness, racism, porn, inappropriate language, or attacks on others. All comments are the property of AmazingRibs.com and we reserve the right to quote them, edit them, delete them, and block people from making future comments.
Please leave comments and questions on the same page that is devoted to that subject so others can see questions and our answers when they are reading about the subject. You must enable JavaScript to use the comments section, and you must accept cookies to post comments. Note: the software that runs Disqus is different from the Pitmaster Club, so members need to sign into the Pitmaster Club separately.